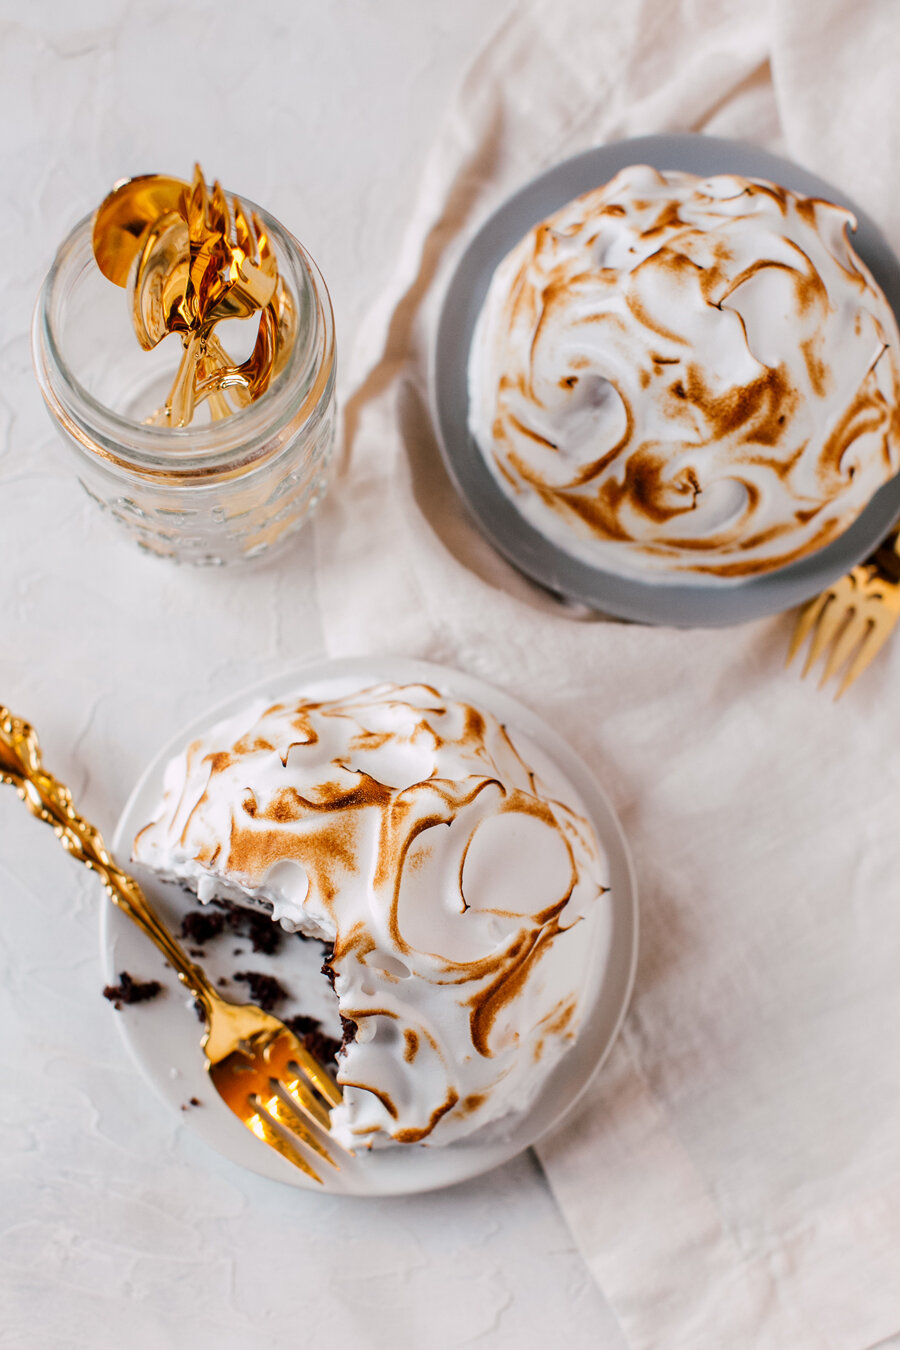
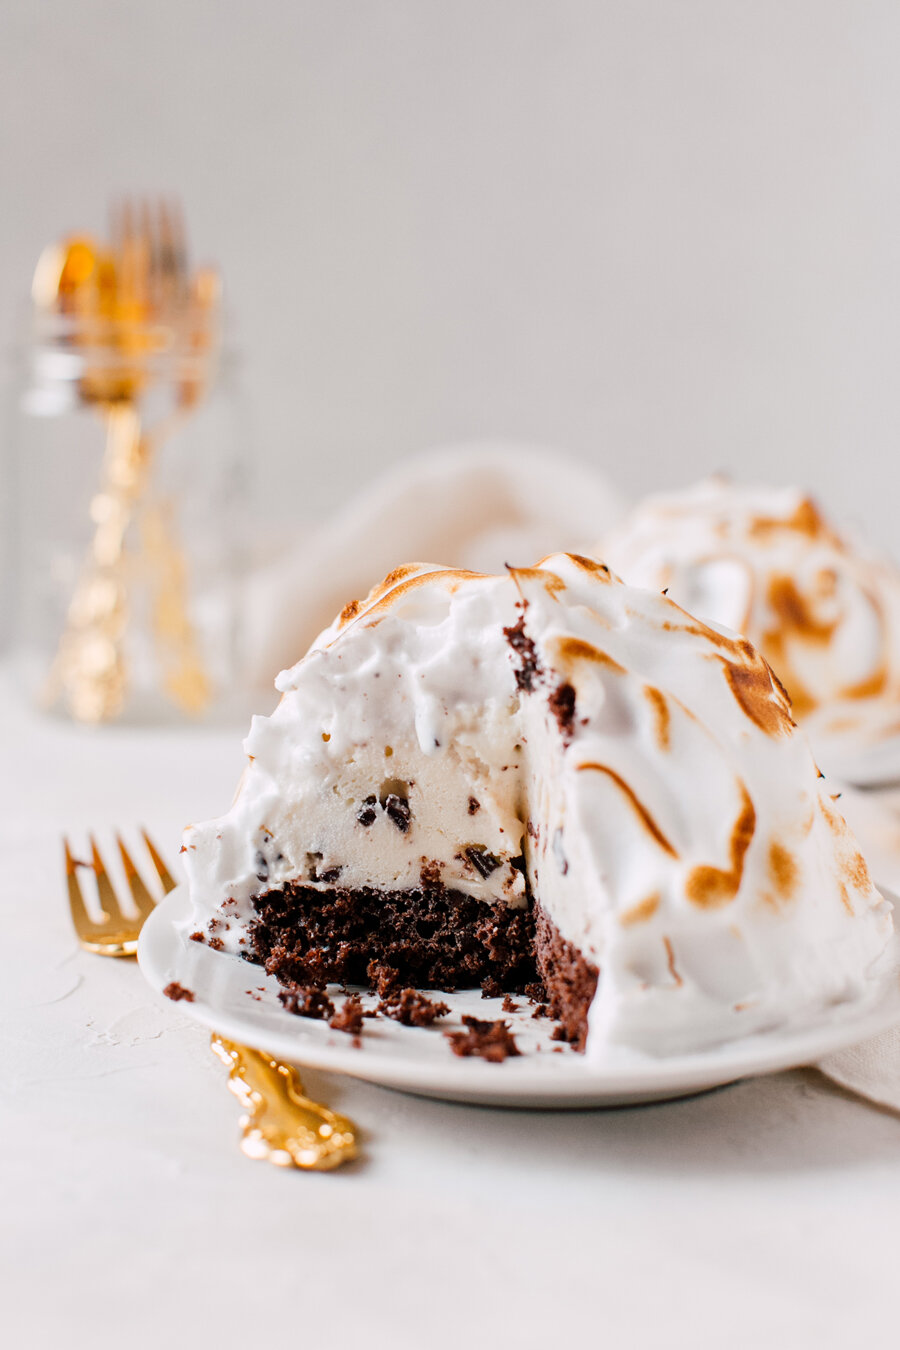
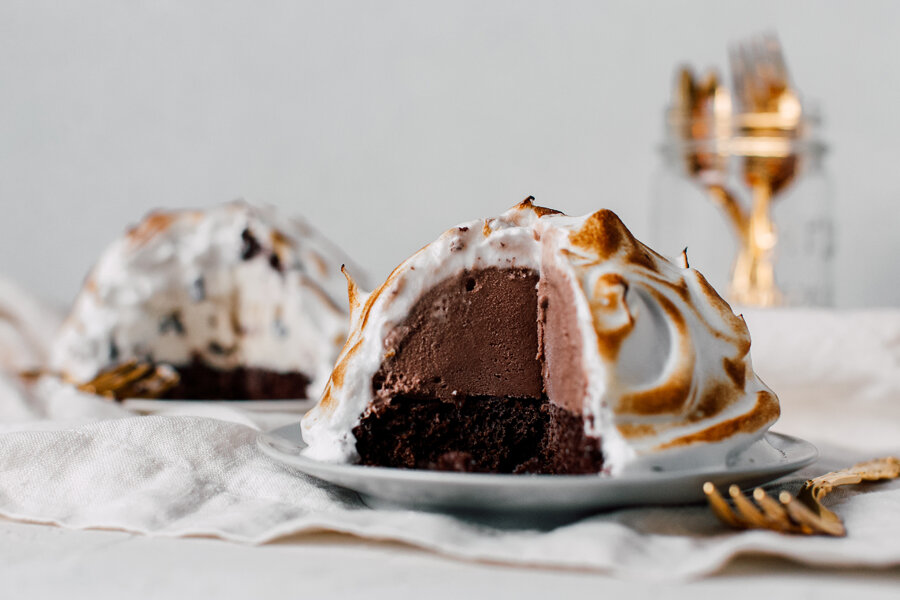
I had never even heard of these dreamy little cakes until my friend Leslie of Oohhlala Events told me about them. I had some left over ice cream (I know, WHAT?) that I needed to use up from a session with Lopez Island Creamery and thought it would be the perfect opportunity to try something new. I took the easiest route possible to make these little treats- check it out below!
Ingredients to have on hand:
-
Box of chocolate cake mix
-
A quart of your favorite ice cream(s)
-
Eggs, Cream of Tartar and Sugar for your meringue. See recipe here!
-
Kitchen blow torch!
Instructions and Tips:
-
Buy a box of your favorite chocolate cake mix. I’d recommend one that doesn’t have any chunks in it just because you’ll be freezing the cake!
-
Make the cake batter and bake it on a flat pan with sides. It doesn’t take long to bake it this way, so keep your eye on it in the oven. Make sure it’s as level as possible. You want it to bake to be about 1.5-2 inches thick! Let the cake cool fully.
-
Find either one large or multiple smaller bowls- the size really doesn’t matter, it just depends on what you’re making the dessert for! Little cakes are fun for multiple people. I placed the bowls right on top of the cake and pushed them in slightly to make a small indent. Then remove the bowl, wash the rims and cut that cake out around the indents.
-
While the cake is cooling, line the bowl(s) you’re going to use with plastic wrap. Make sure you leave enough hanging off the edges so you can eventually use this to grab it out of the bowl. Scoop your preferred ice cream flavors (I used Mint Chip and Decidedly Chocolate!) into that bowl leaving about 2 inches at the top. Fold the plastic wrap in over the ice cream and stick it back in the freezer.
-
Once the cake has cooled and you’ve cut your circles out, pull the ice cream back out of the freezer and lay those cake pieces on top of the ice cream. Cover again and freeze.
-
Let these sit for at least a few hours or even over night.
-
When you’re nearly ready to serve, you’ll make your meringue! I used this recipe which was super easy. Meringue can be finicky, so don’t be upset if it takes you a try or two. Just have enough ingredients on hand for two rounds in case it doesn’t fluff the way you’d like! I’ve had the best luck making meringue in a metal bowl.
-
Take your cakes out and flip the bowls onto a heat safe plate. Use the edges of the plastic wrap to pull the cake out if necessary. Remove all plastic wrap.
-
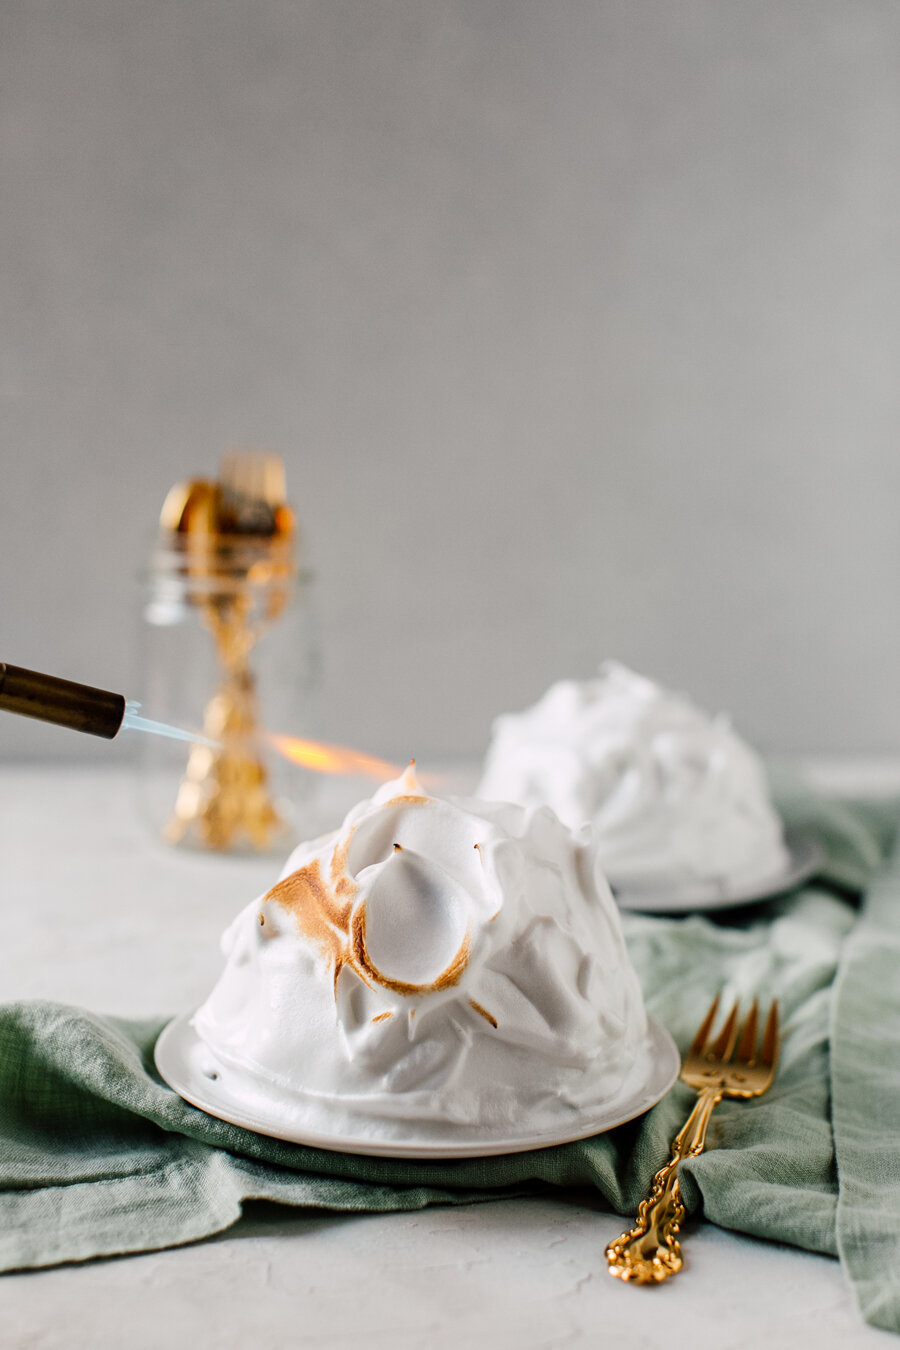
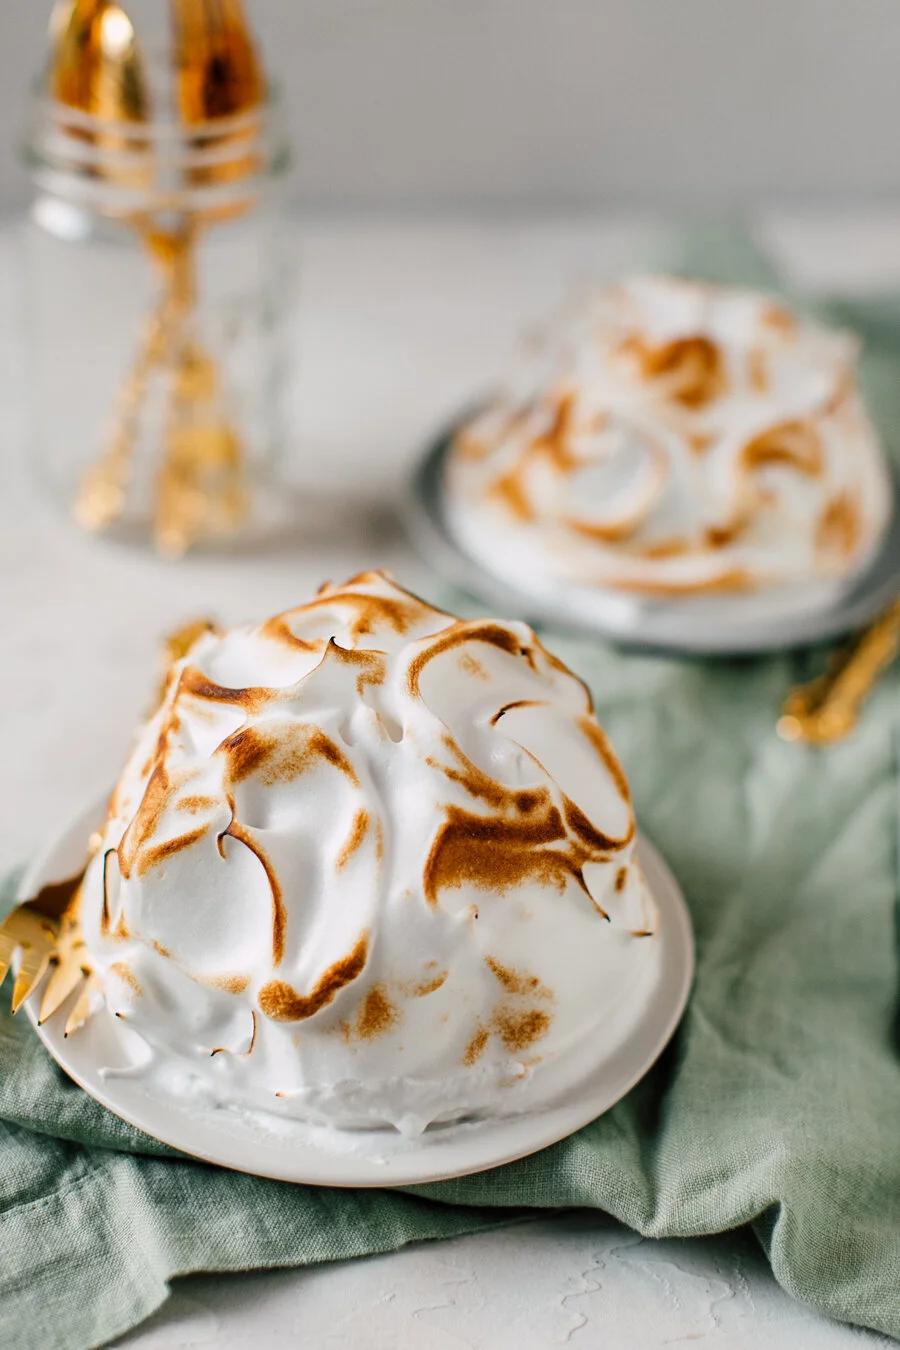
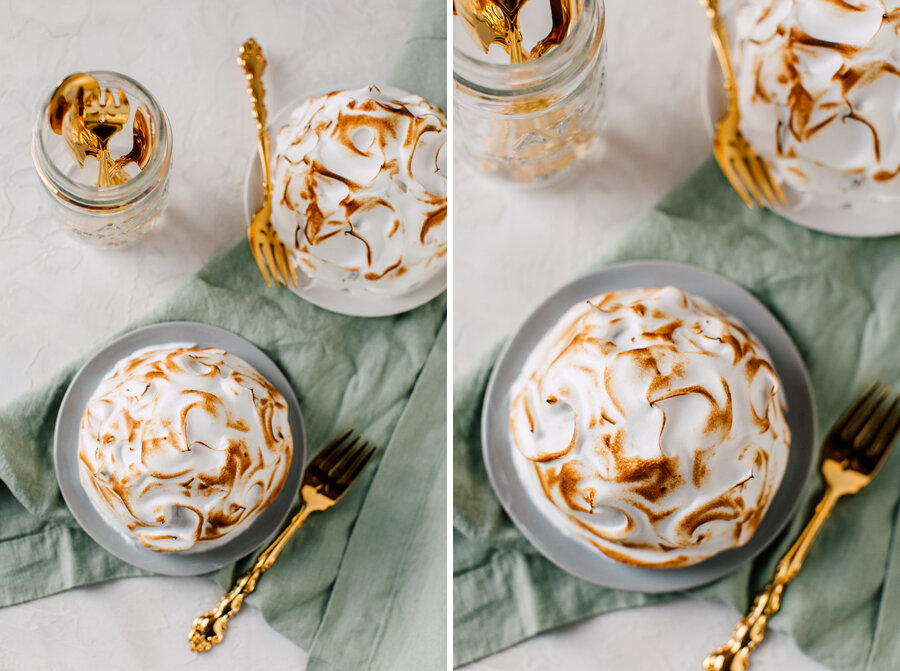
Cover the cake in meringue. It’s fun to try and create swirling designs with the spoon. When it’s totally covered you’ll use your kitchen blow torch to LIGHTLY brown the tips of the meringue. It doesn’t take long, so be light handed!
-
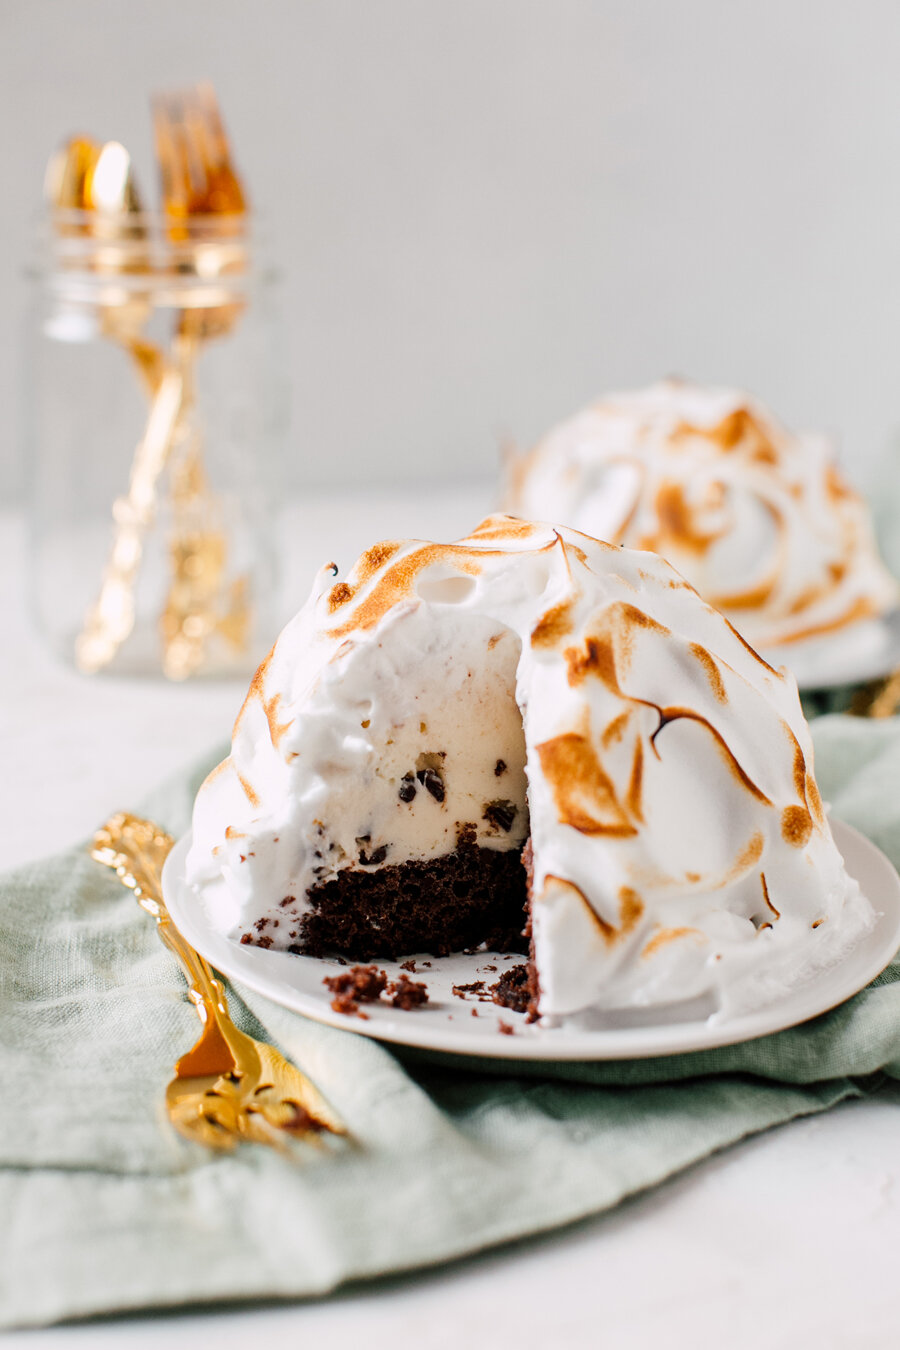
TADA! Cut these babies open and enjoy. They actually do hold their shape for quite some time. I had these out in the warm studio for about 20-25 minutes and they still looked fresh and weren’t melting yet. They really are beautiful!
