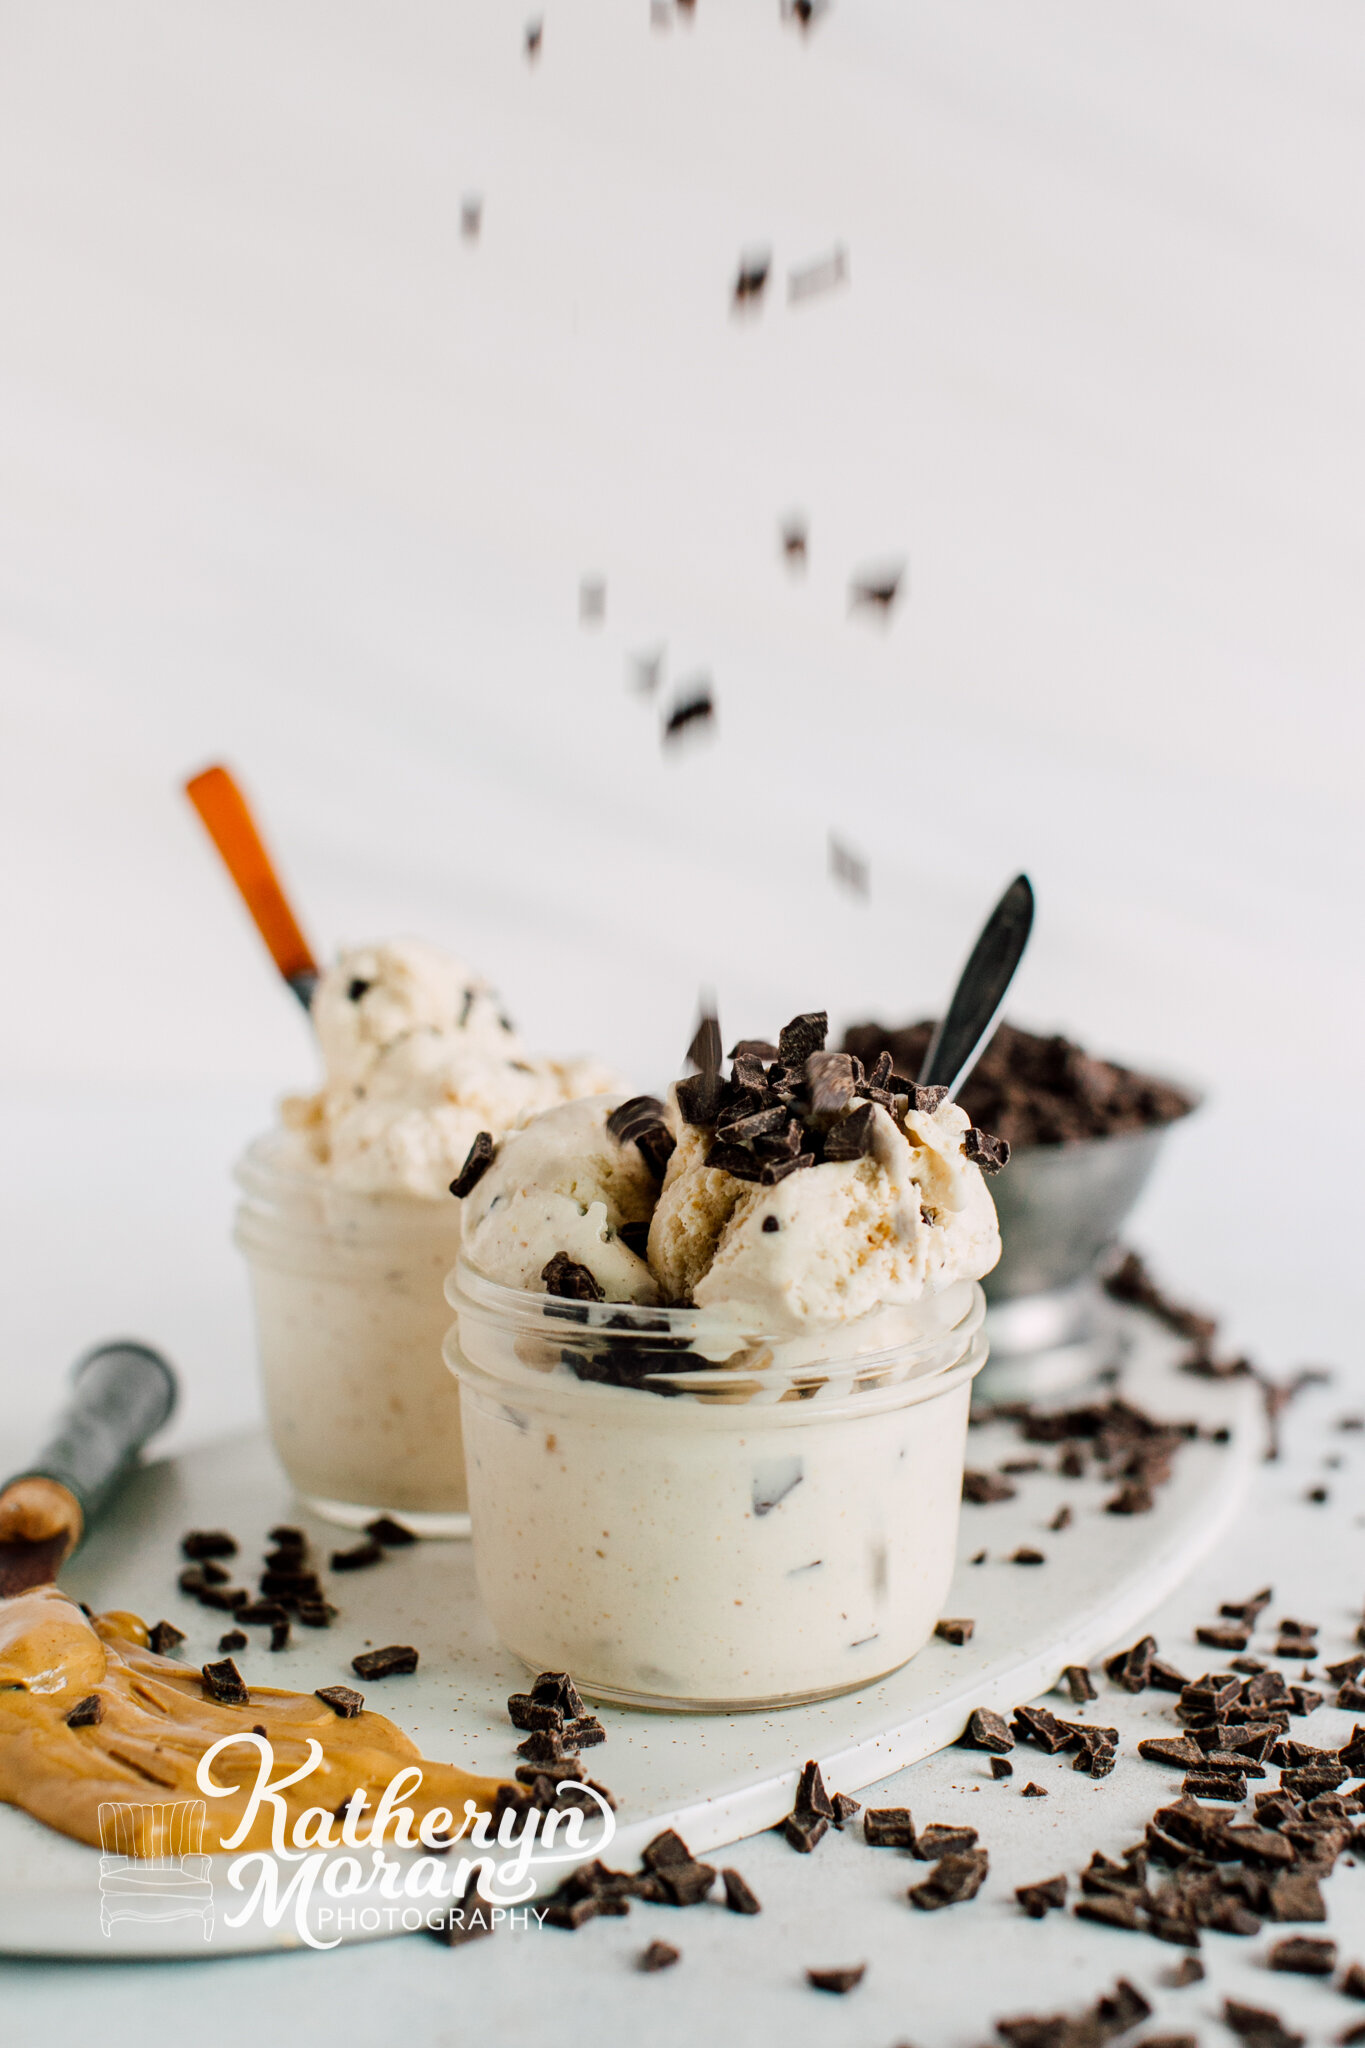
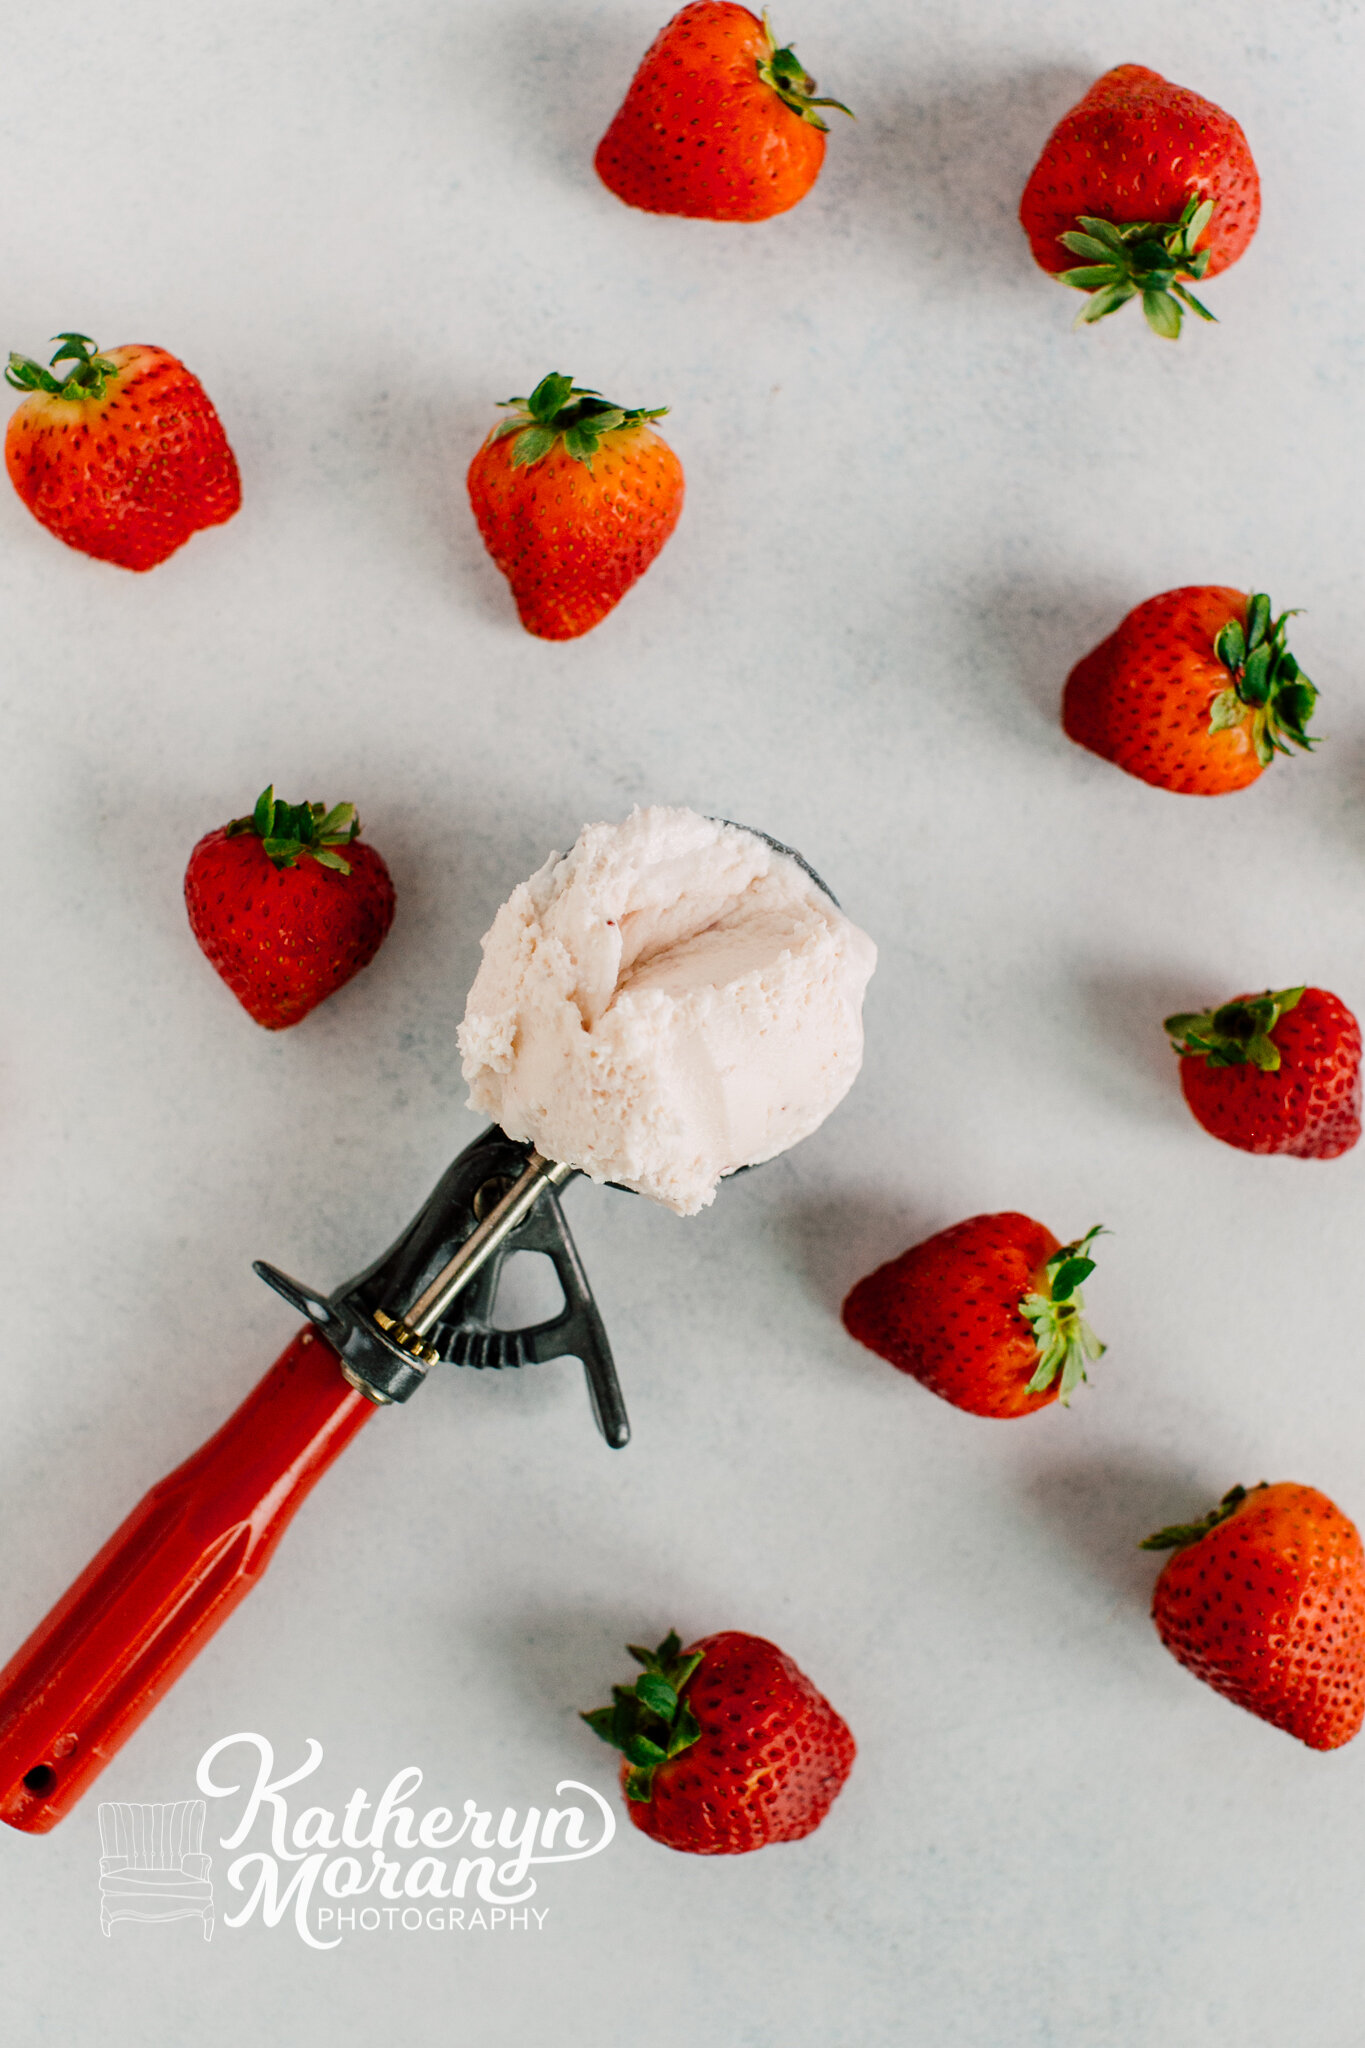
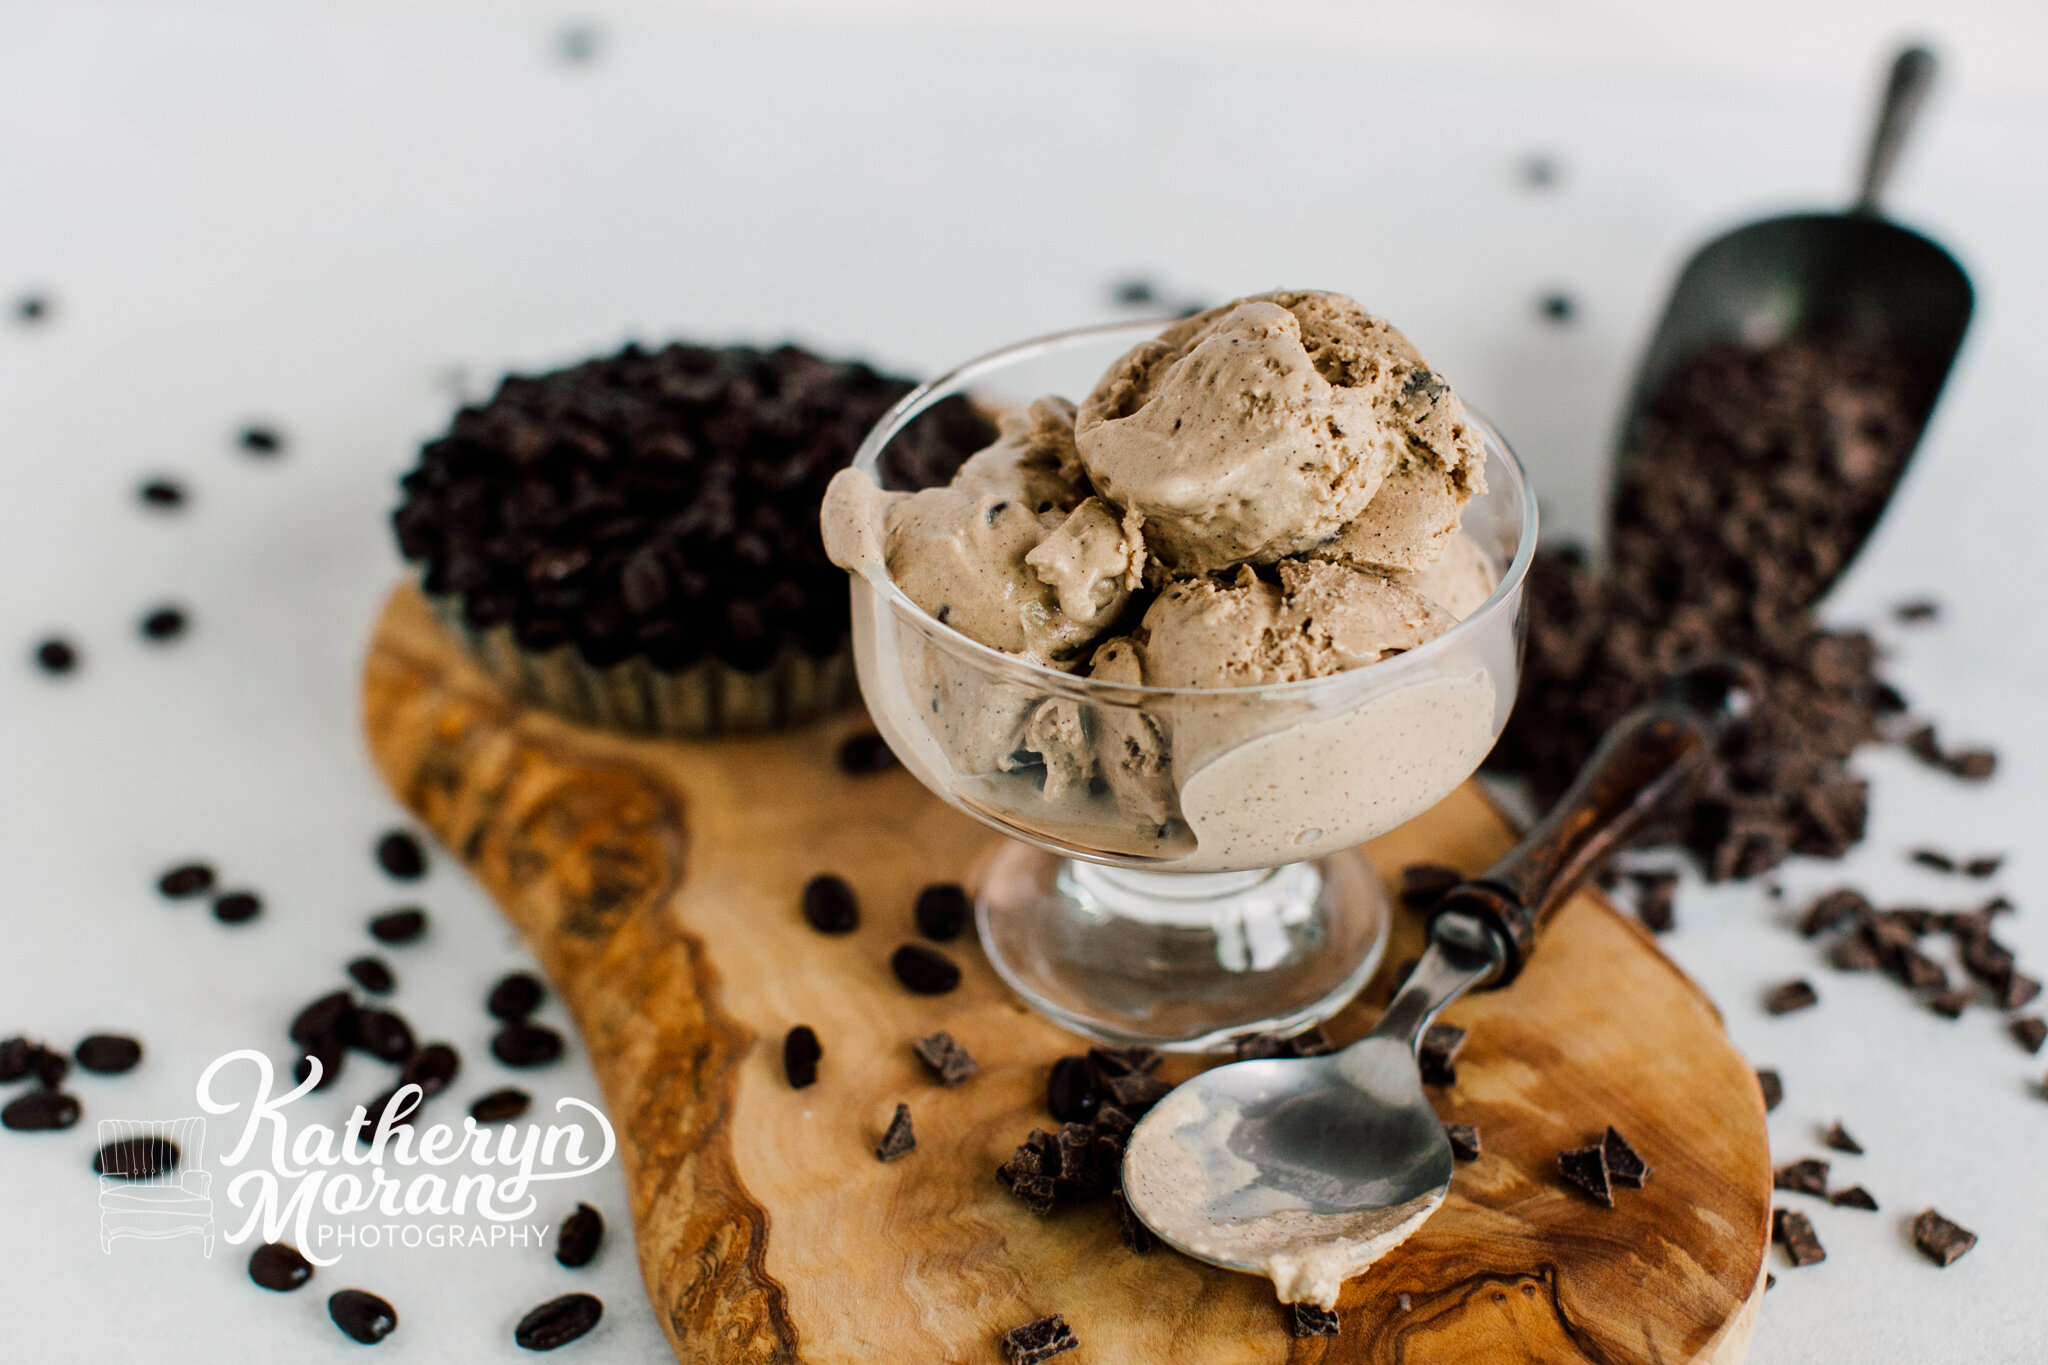
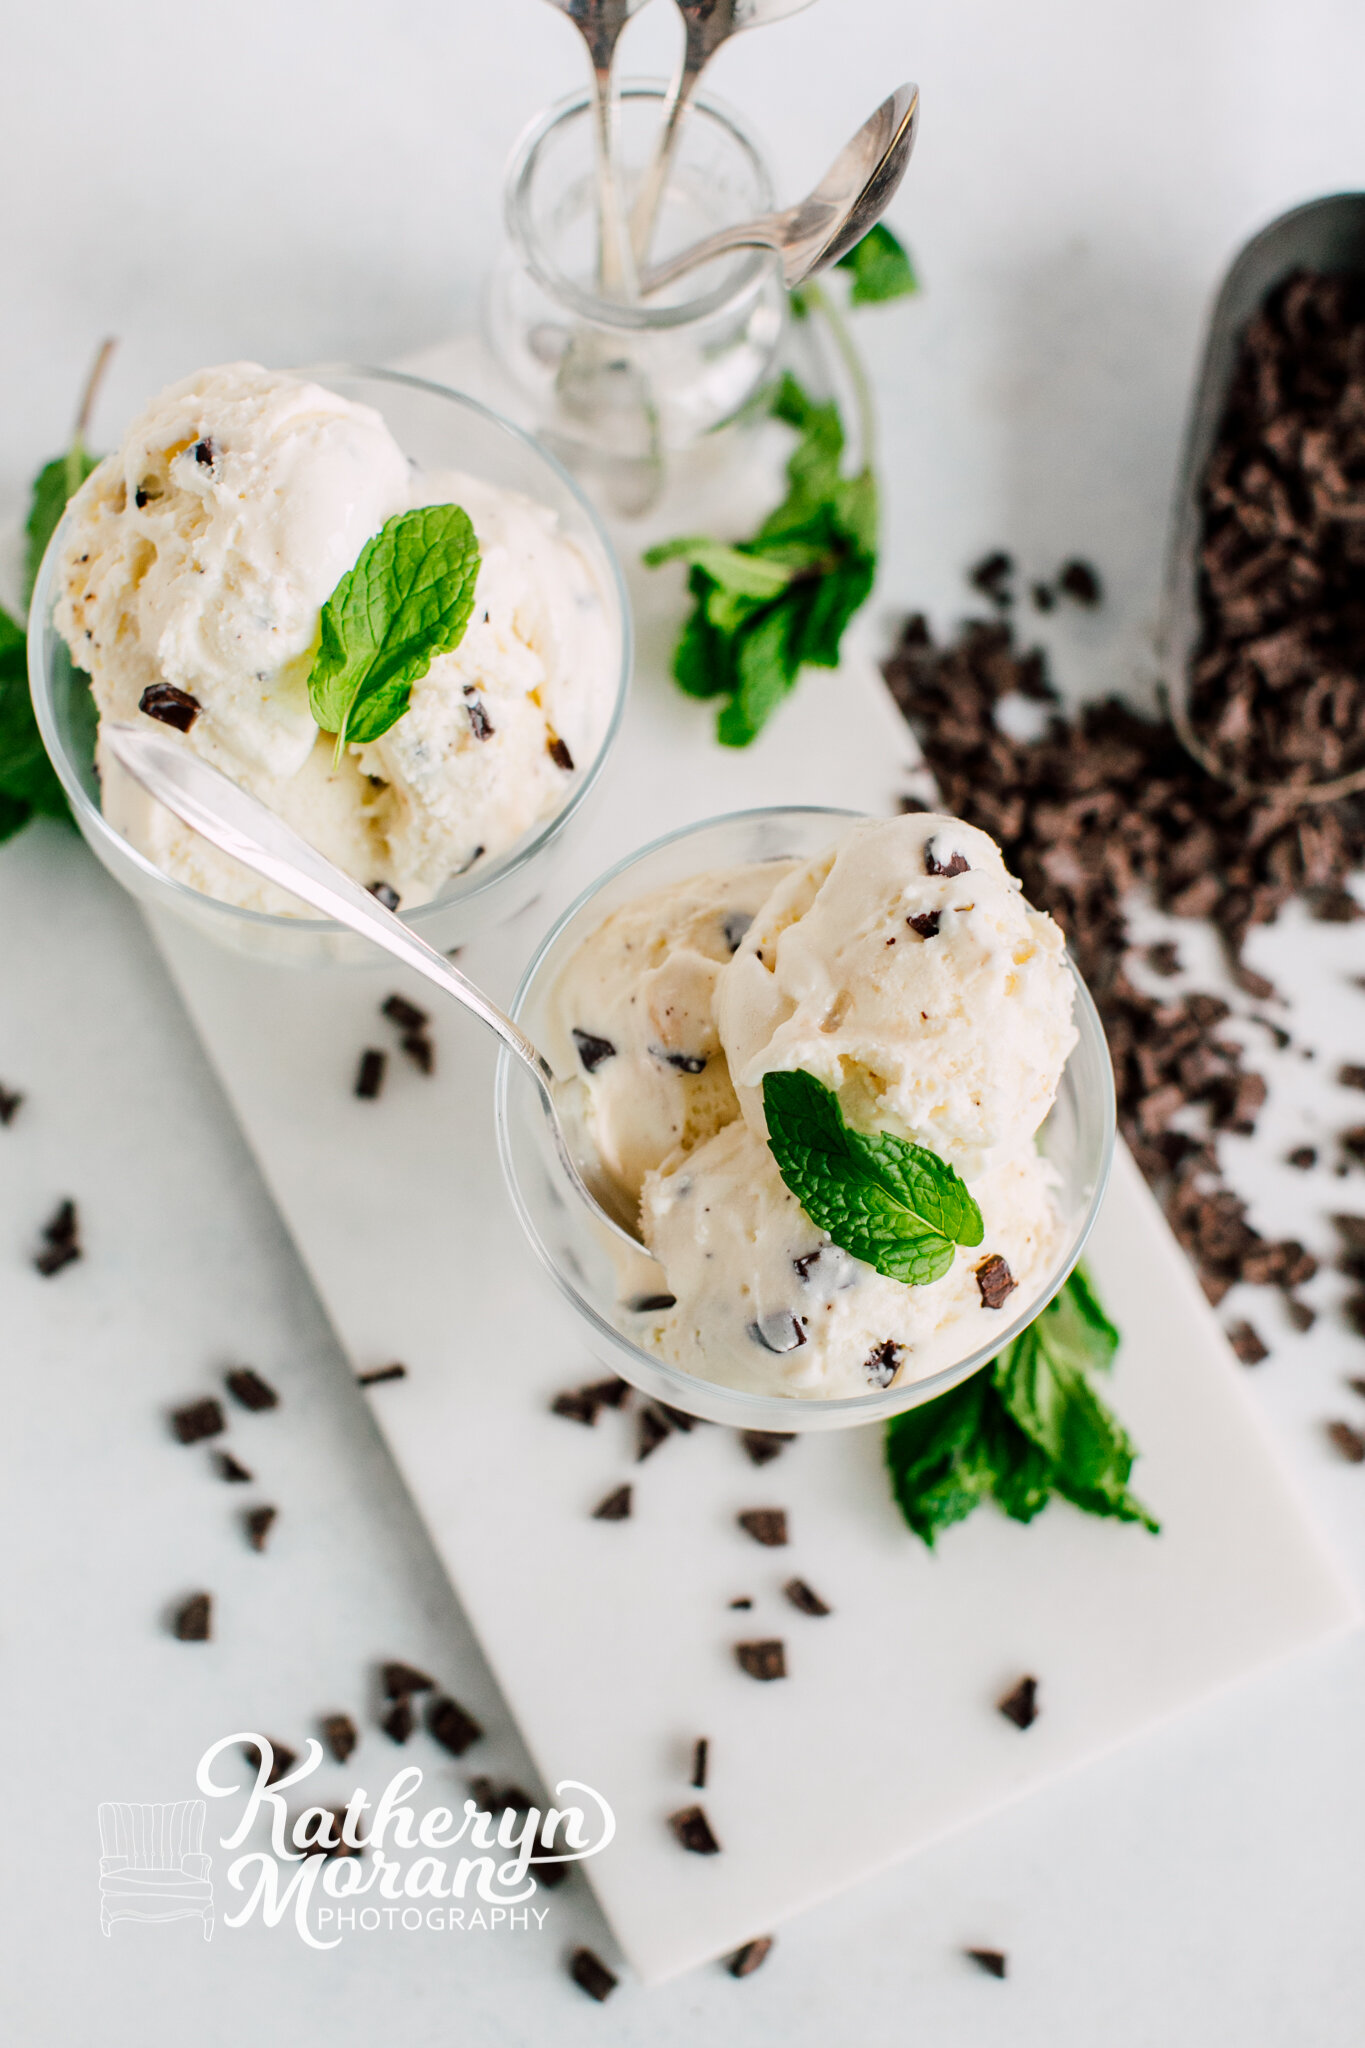
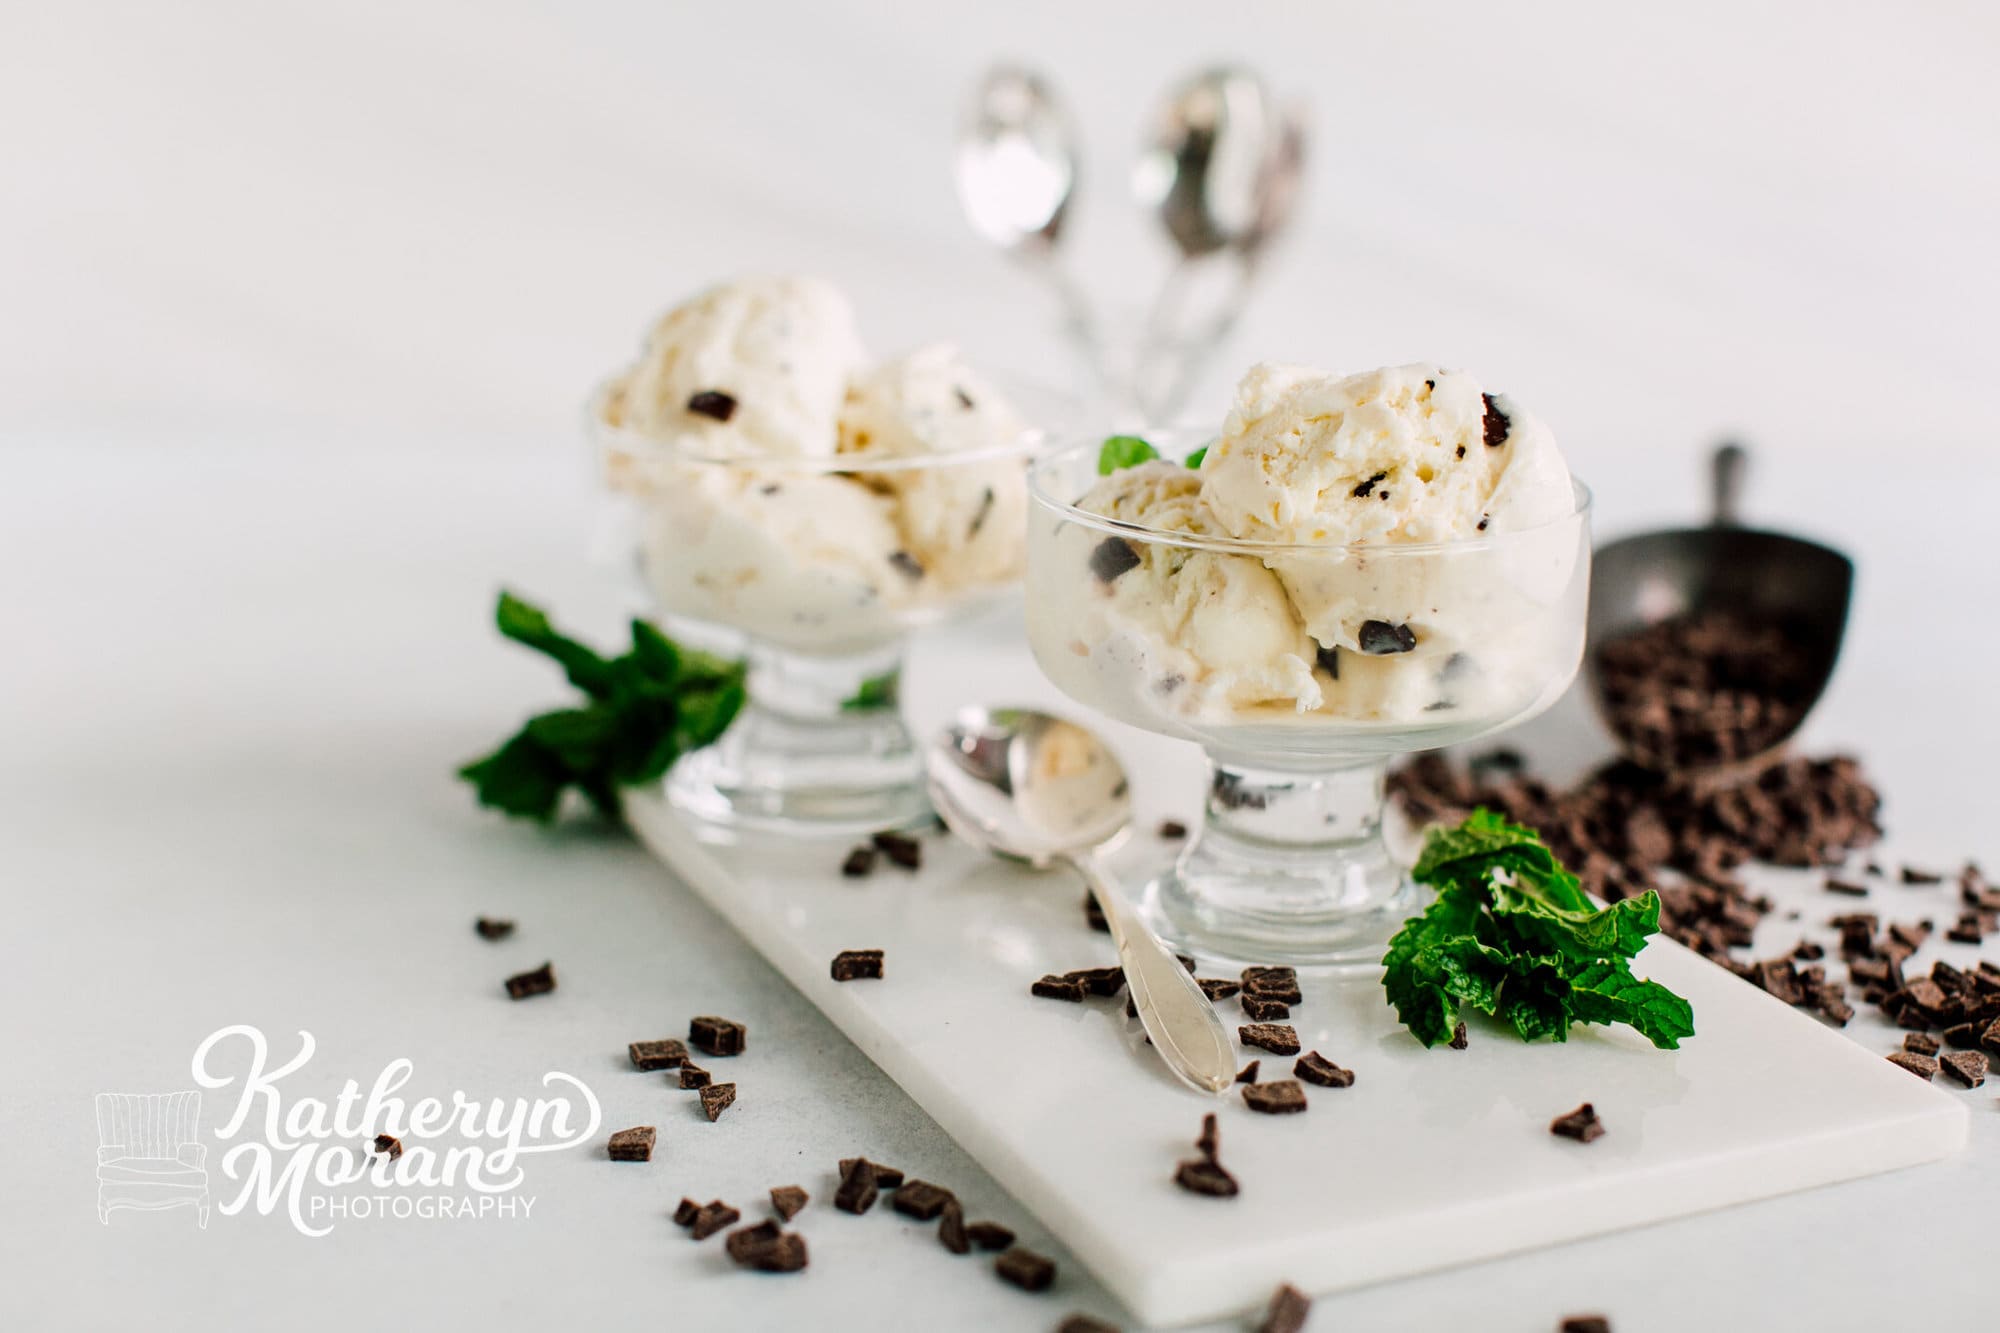
I had the extreme pleasure of working with Lopez Island Creamery and while I had worked with ice cream in a few different instances before, I had never worked with such a large quantity of ice cream that all needed to be styled and staged differently in a certain amount of time. Ice cream is certainly one of the more challenging subjects I’ve photographed, but it can be done well with the help of a few tricks and time management!
1. Scoop and re-freeze your ice cream the night before
This had never even crossed my mind, but after watching this fabulous video by The Bite Shot I figured I would give it a try. By scooping the ice cream before the shoot it allowed the ice cream to refreeze and maintain that ripple look and save me time perfecting scoops during the session.
2. – Draw out your plan of attack before you begin
When you’re working with a subject that melts, you just don’t have the time to be trying to think of each creative scene while you’re working. It worked well for me to draw out unique scenes for each flavor so I could easy reference my outline and pull the props I needed for each scene.
3. Collect all your props and backgrounds before starting
If you pull all the props you expect to use out in one place it makes it easy for you to swap items in and out without having to rummage around in your prop collection. If you’re anything like me you know how quickly prop collections can grow and searching for that ooooone perfect piece will eat right into your shooting time!
4. Set a timeline and stick to it
This is particularly helpful if you have a lot of different subjects to move through, but not so much if you’re just shooting one scene. It was helpful for me to know that I wanted to get this project done in about 4 hours and had 11 unique subjects to move through. It’s easy to get caught up in the fun of styling, so it can be good to set a timer for yourself to stay on track!
5. Keep the room cool!
It’s important that your space is cool. I did this shoot in December, so I was able to just pop open the door in my studio and dress warm, but shooting in the dead of summer would be much more challenging. Shoot during the coolest part of the day, our of direct sunlight and keep your handy personal air conditioner nearby!
6. Place all props in scene before removing ice cream from the freezer
You are only going to have a matter of minutes once you pull that ice cream out of the freezer, so get the scene completely set and ready beforehand so you can start shooting as soon as you place the subject.
7. Fiddle with the subject as little as possible
I quickly learned that touching or moving the ice cream scoops too many times caused the subject to melt faster and it easily showed dents and dings. Once you’ve placed your scoop, do your best not to fiddle with it!
8. Try not to open the freezer excessively!!!!
This was something I had to learn the hard way throughout this shoot. Unfortunately my freezer is fairly small and it was hard to organize so many pints and scoops in there in an easily accessible way. If you can find a way to organize that freezer so you can quickly find each flavor then you won’t let cold air out and risk softening your remaining scoops!
9. I found this freezing spray to be helpful
This freezing spray was suggested in The Bite Shot video I mentioned earlier and it was super helpful throughout the shoot in freezing quick drips or freezing your scoops/spoons!
10. As always, HAVE FUN! Life is pretty good if you’re spending your day photographing ice cream <3
