There are all sorts of crafty and creative ways to make your photos unique, but there are my top four favorite elements to implement in my work!
1. Leading Lines
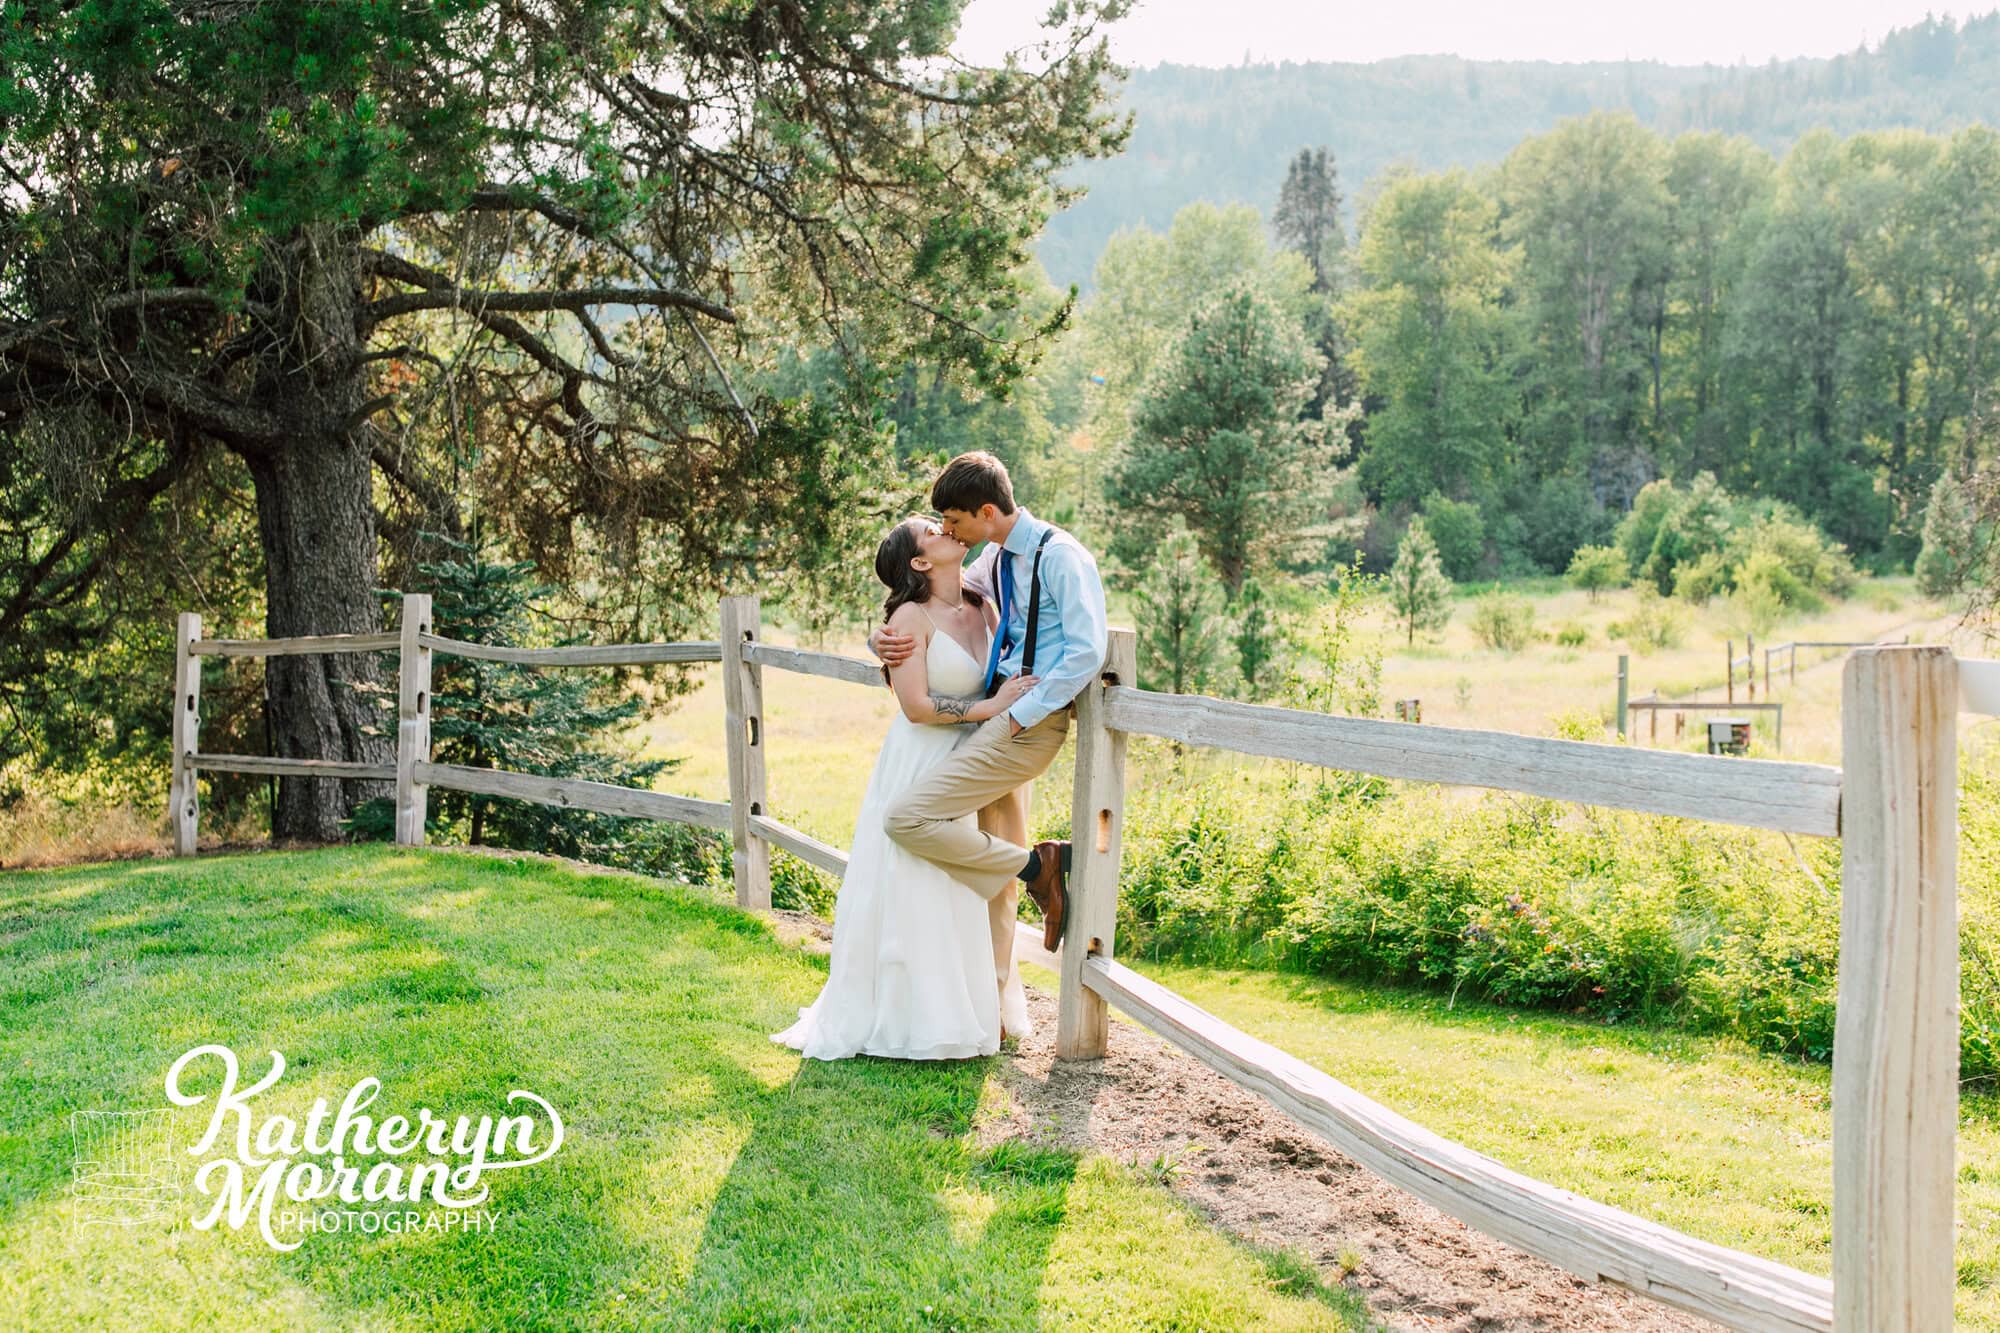
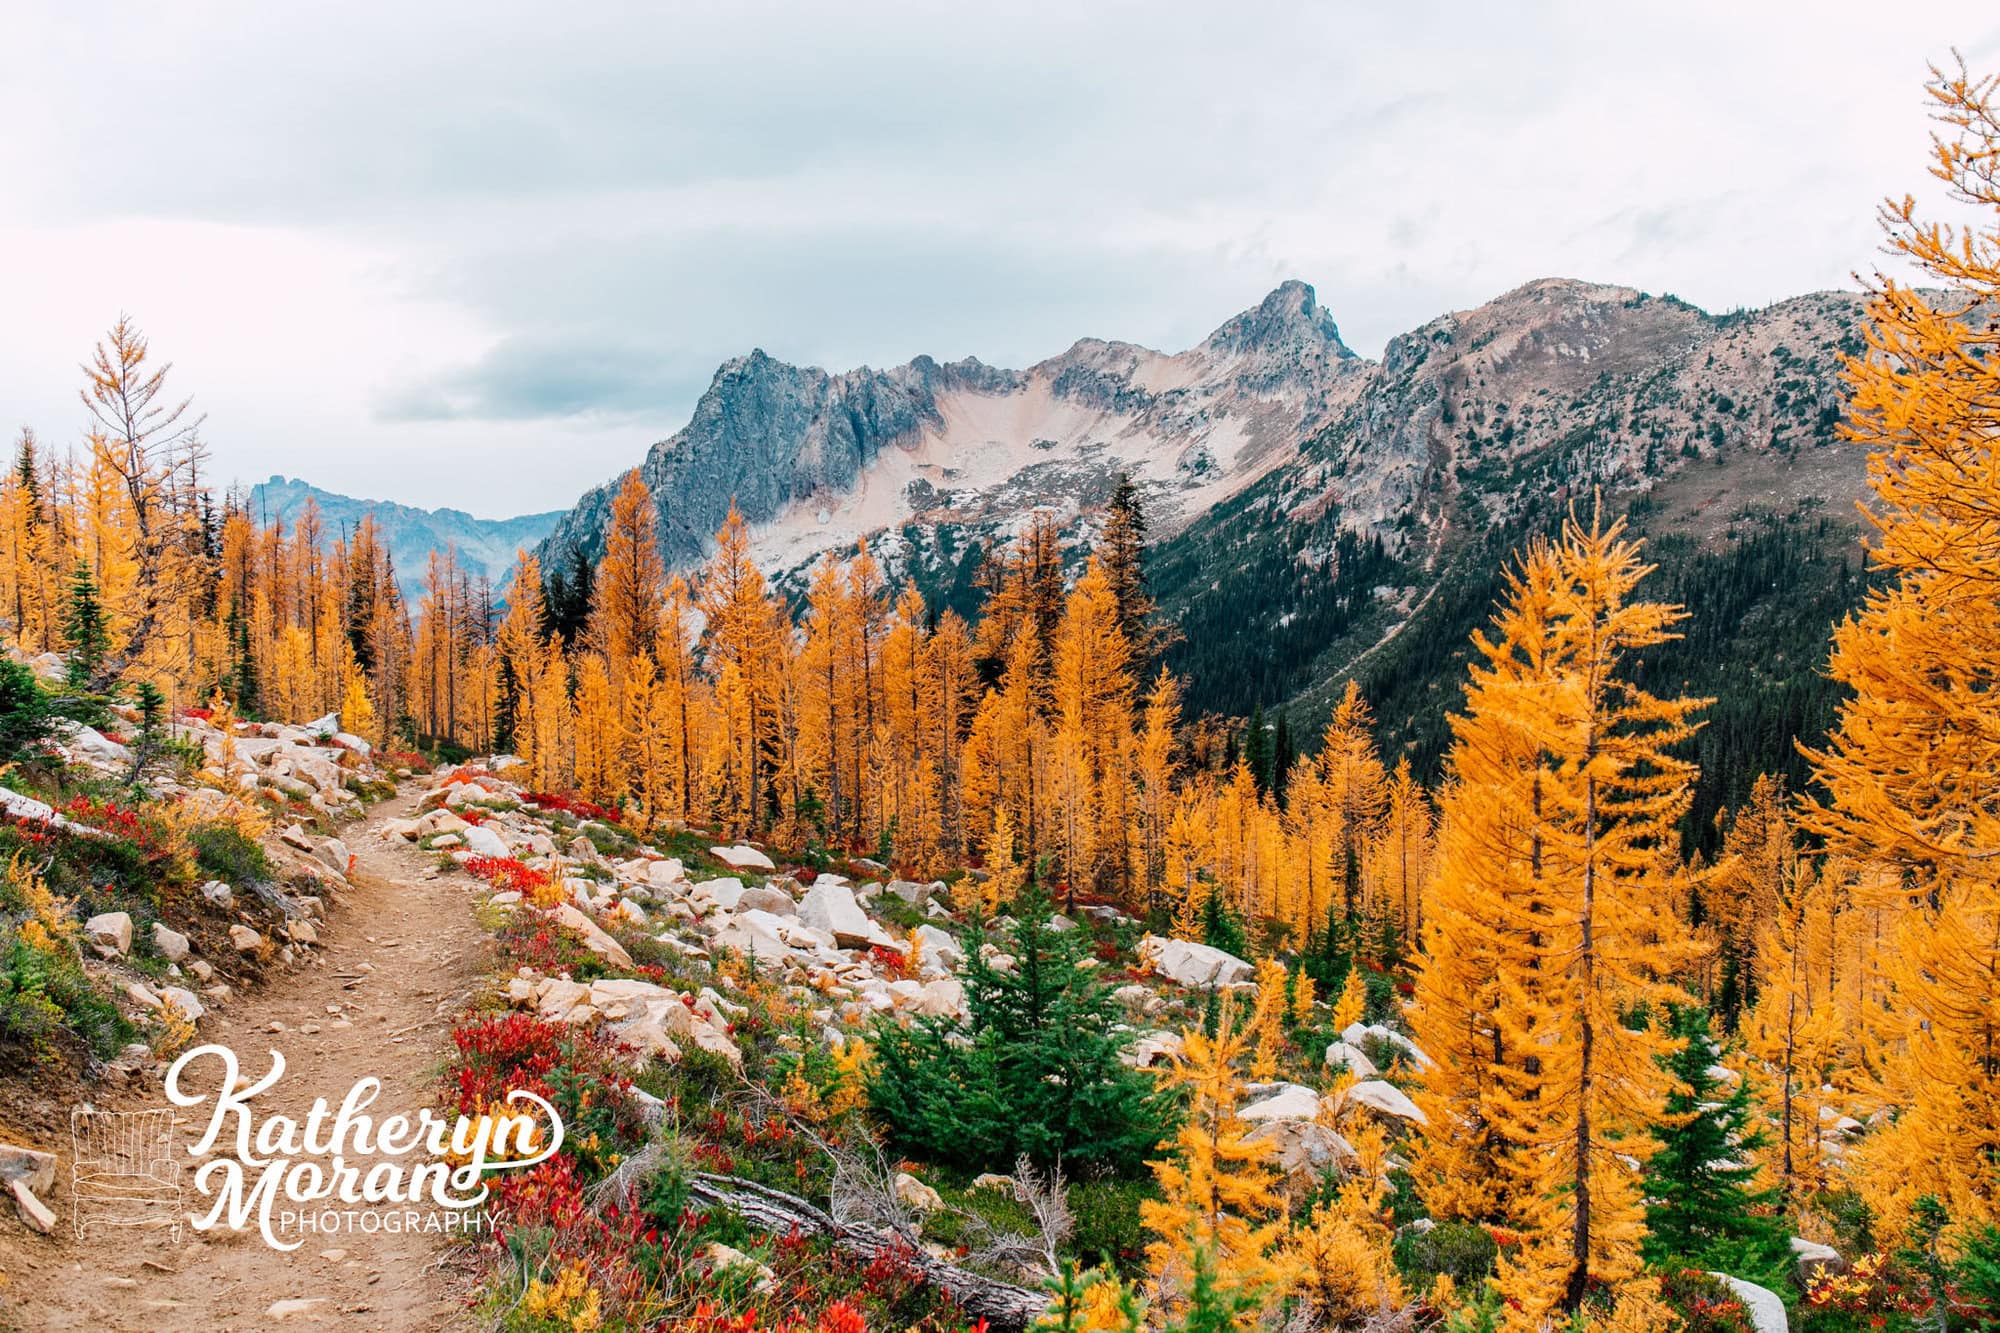
Leading lines help to draw a viewers eye directly to a particular part of an image. They can also be used to help move the viewers eye around a photo. Common leading lines are roads, rivers, trails, tree lines, horizons and bridges. Below are a few examples if different photos where leading lines play a role.
In this example, the lines are quite obvious. The fence is guiding your eye directly to the canoodling couple directly in the center of the frame. Simple and effective.
In this photo of the larches off Cutthroat Pass Trail, you’ll find that the pathway to the left acts as the first leading line guiding your eye through the photo until you reach the mountain. From there, a new leading line guides your eye across the top of the mountain and out of frame.
Another great example is the use of utensils found in the photo below. These leading lines aren’t quite as obvious, but they’re just as powerful. The cake server in the top of the frame guides your eye into the center of the photo where the fork to the left then points your eye to the final slice of cake in the bottom right, until finally the last fork points you out of frame.

2. Negative Space
By strategically choosing to leave parts of the frame unoccupied, you help your viewer understand the simple message quickly. Your eye is instantly drawn to the subject, with less distractions in the frame. This is also great when you’re working with a client who knows they want to use images for marketing purposes where they will need to add text to an image!



3. Rule of Thirds
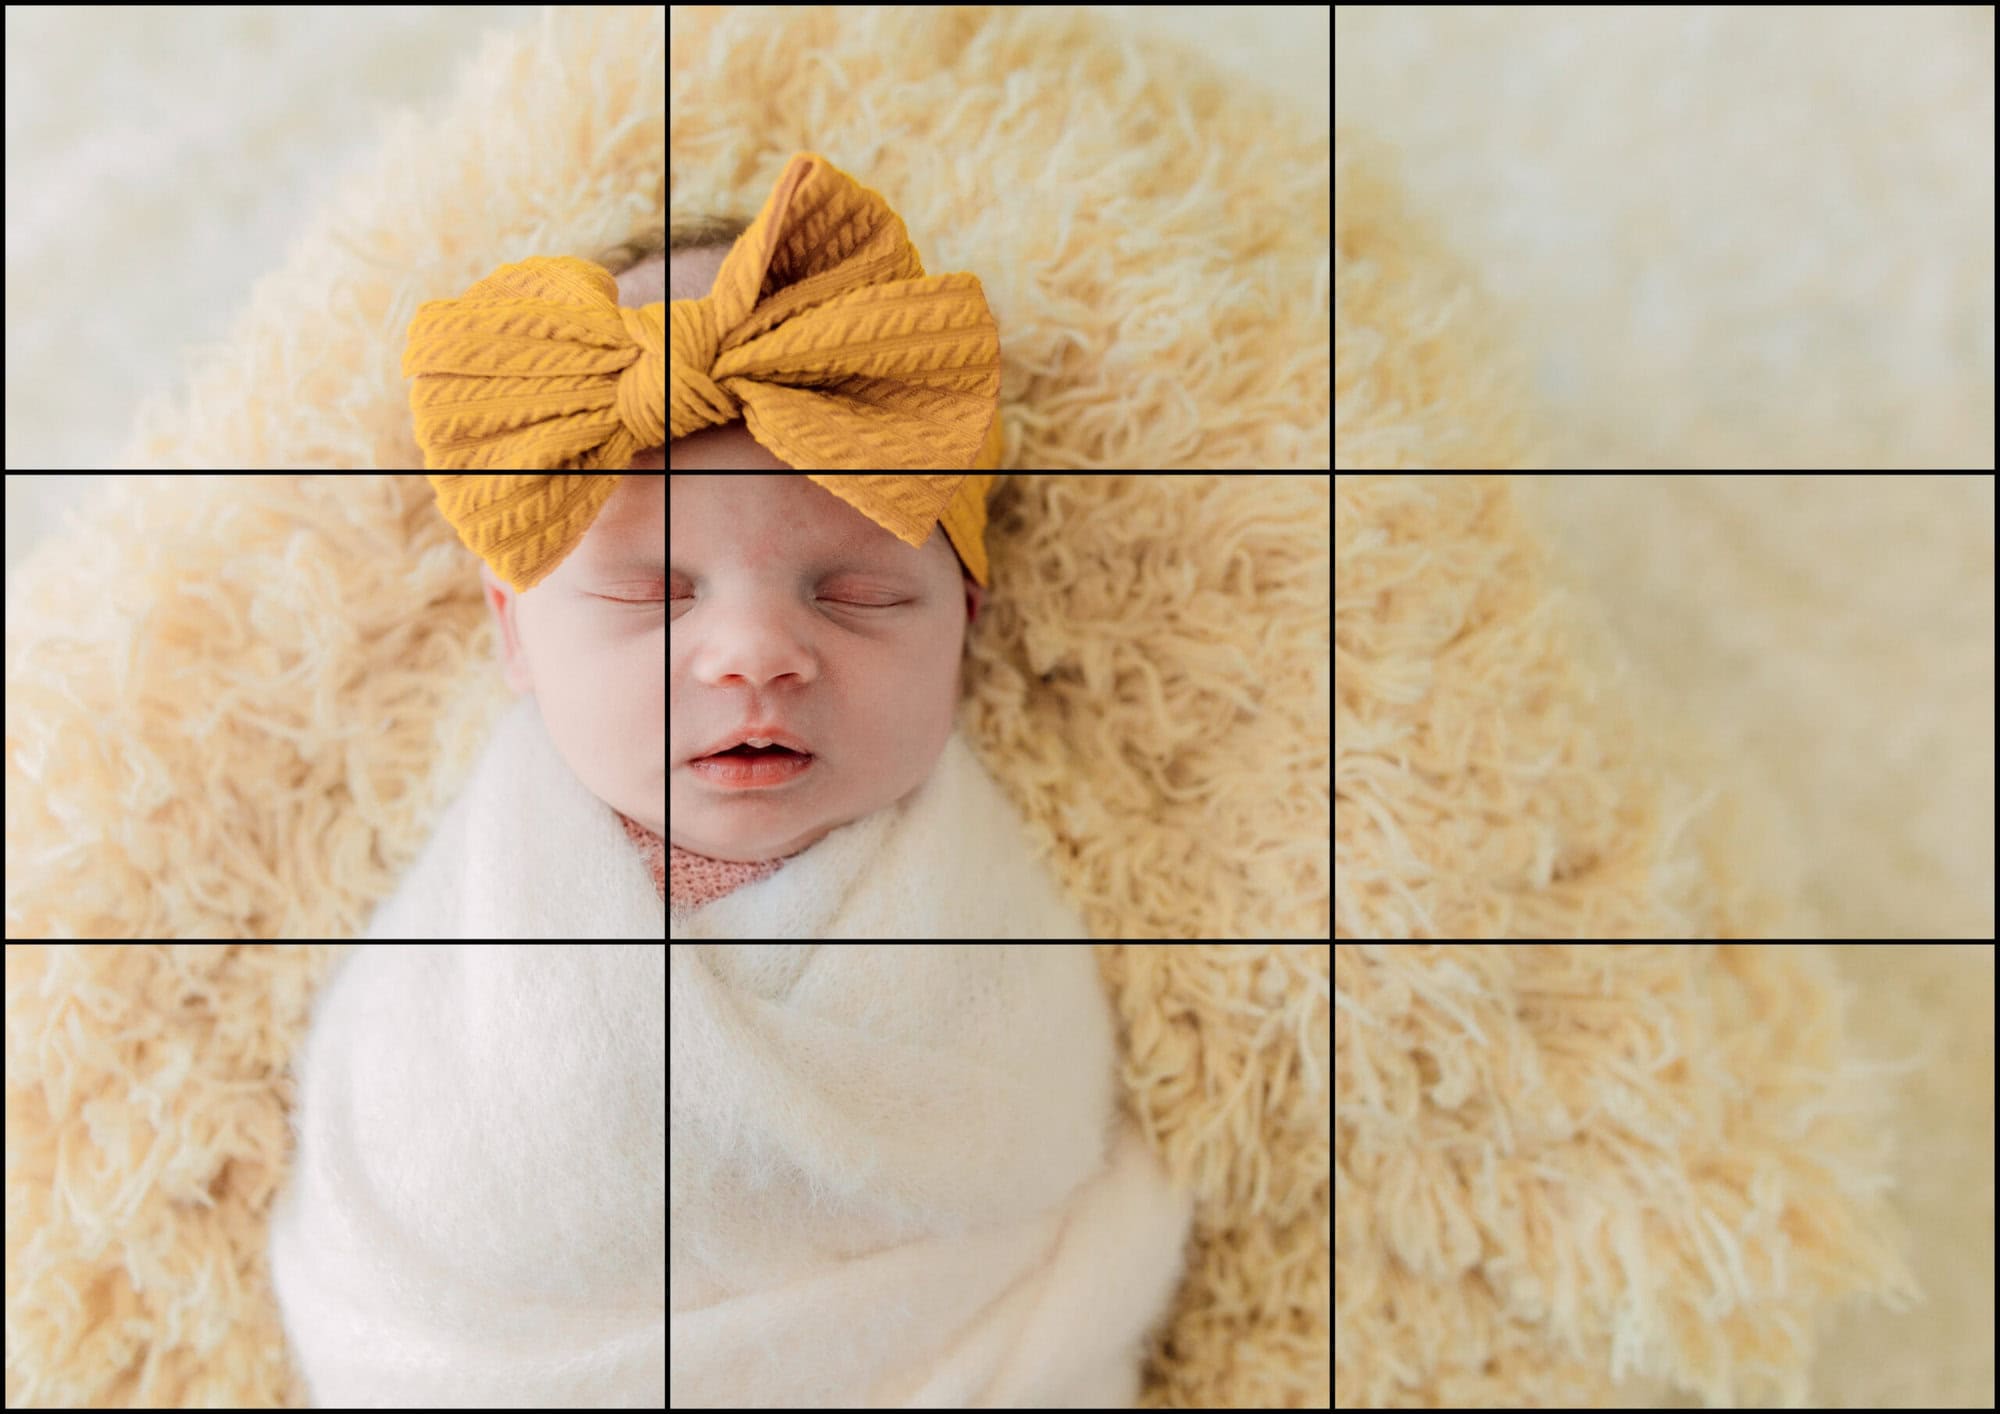
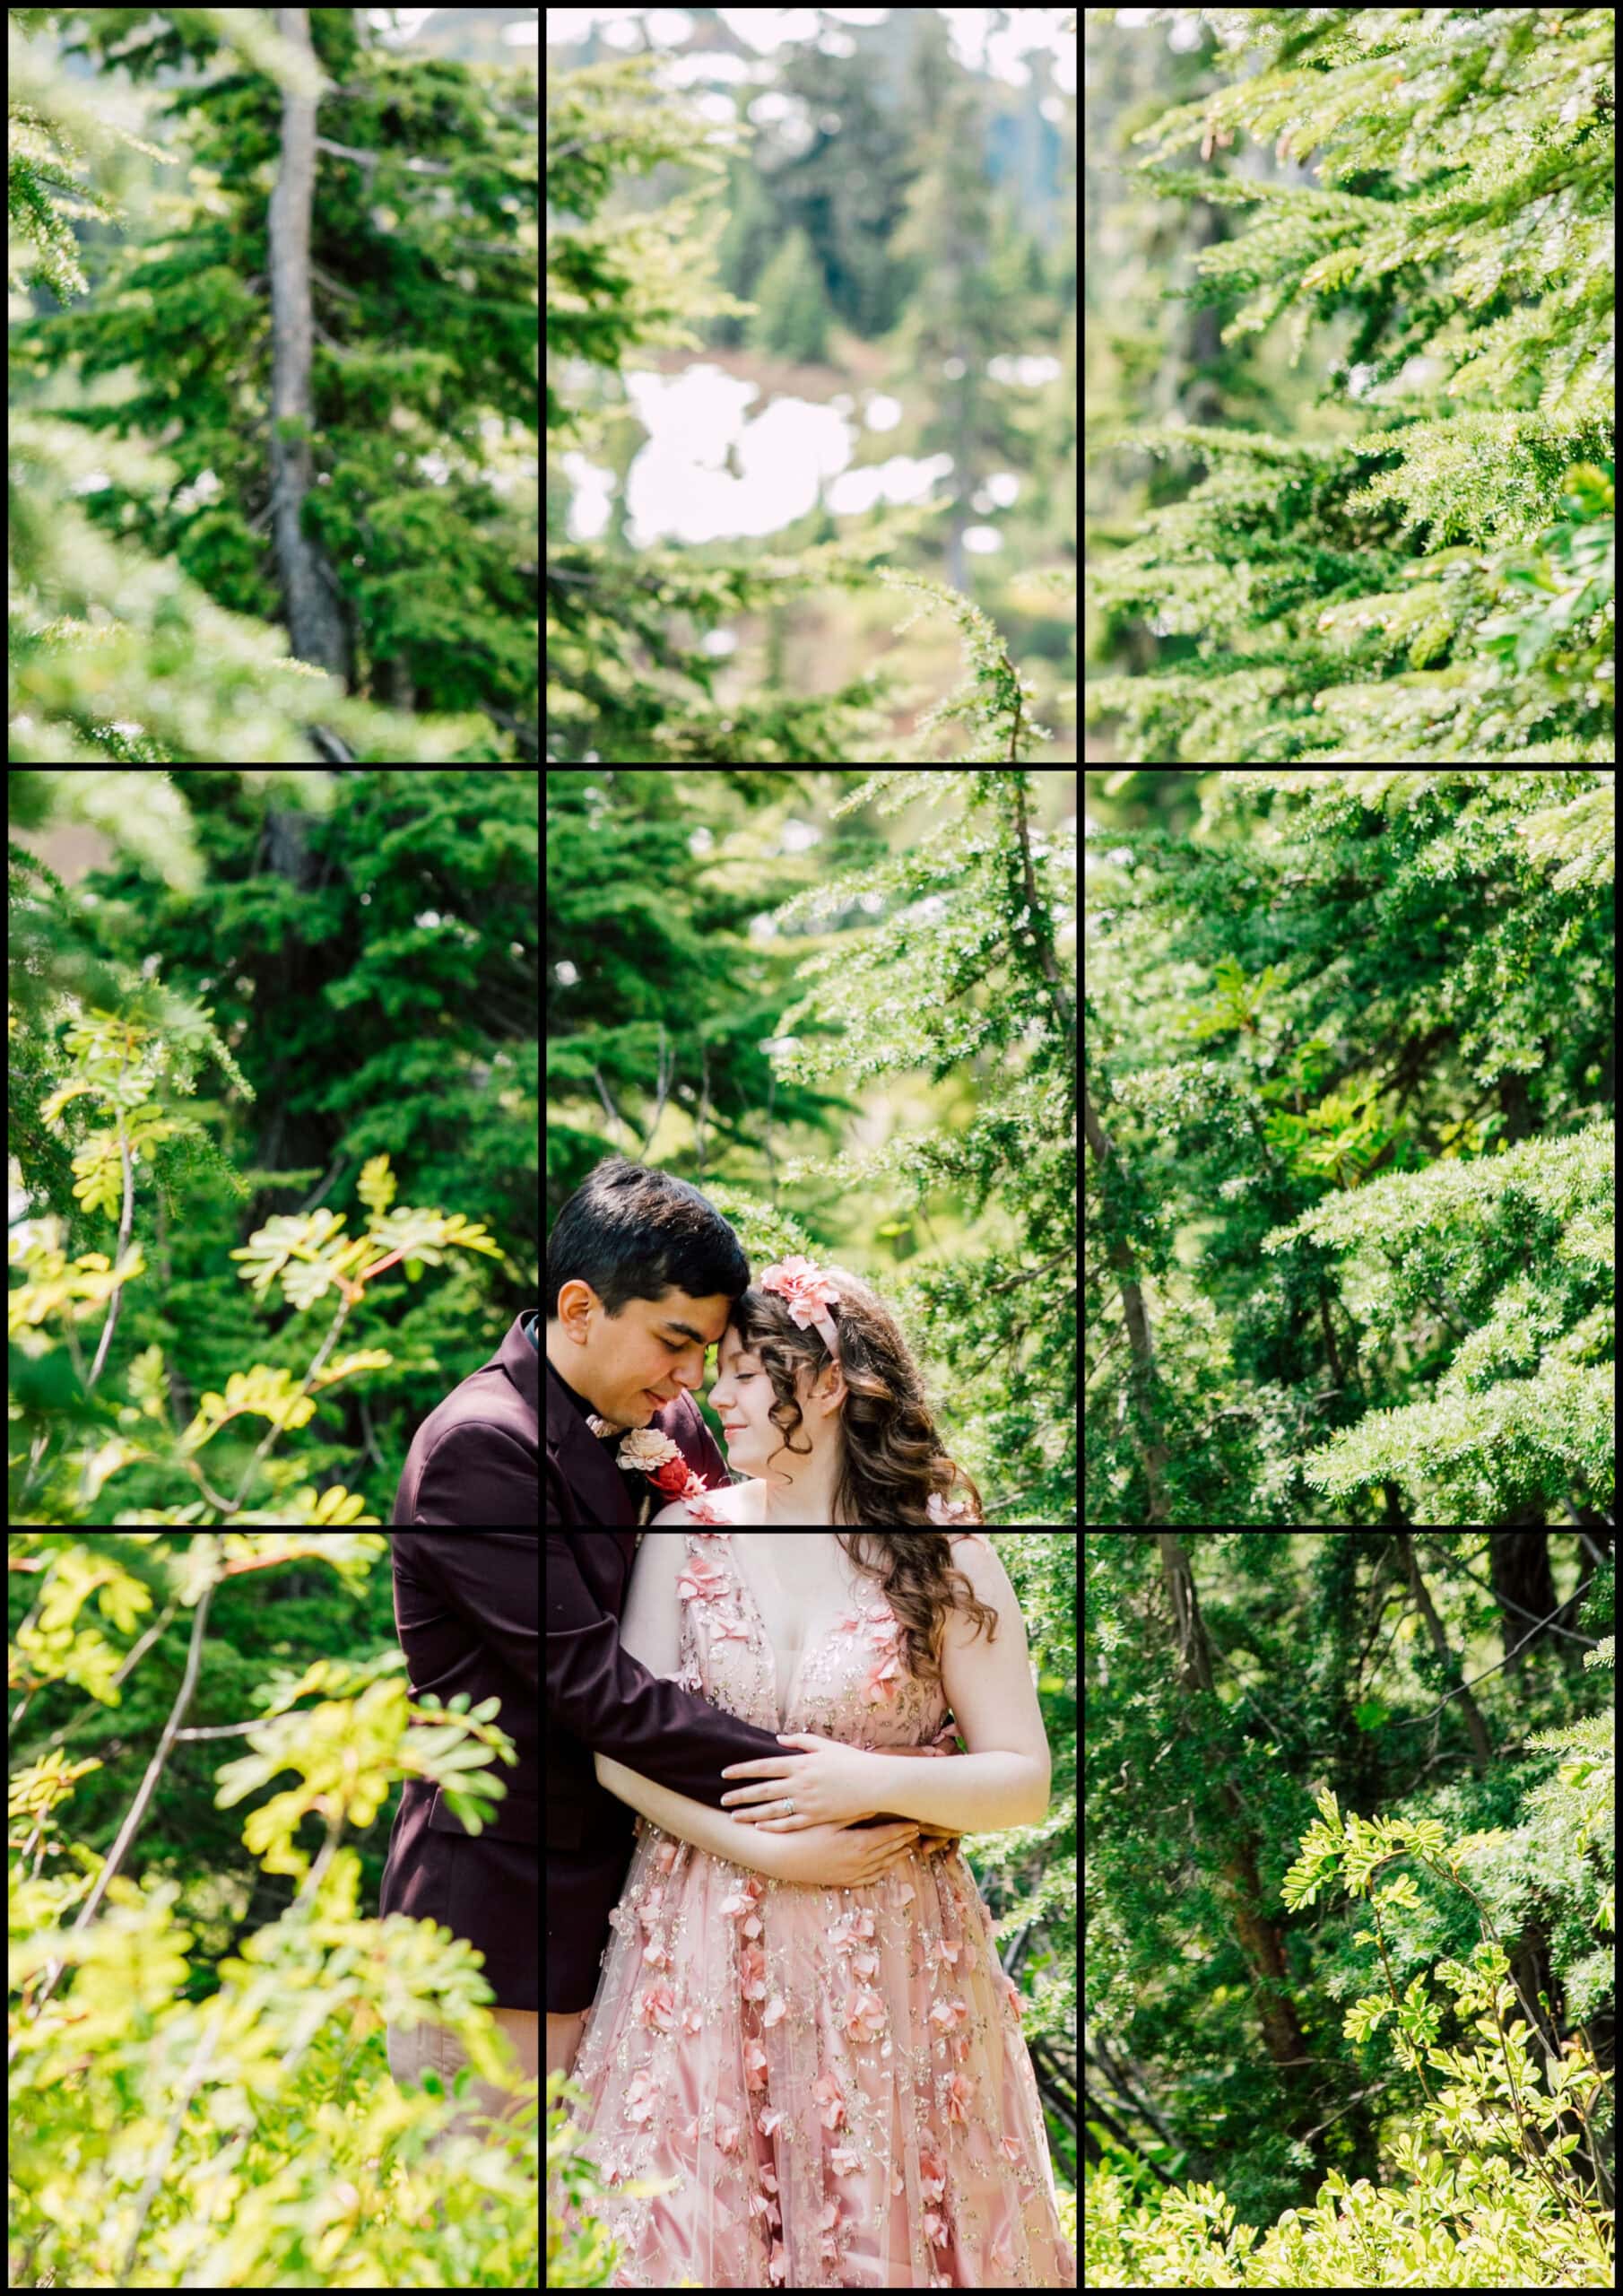
To implement the rule of thirds, divide an image into nine equal parts, the key elements of that image will be placed at the lines or intersections of those thirds that grid creates. Doing this helps to draw the viewer to certain parts of the images and tell the story.

4. Depth of Field
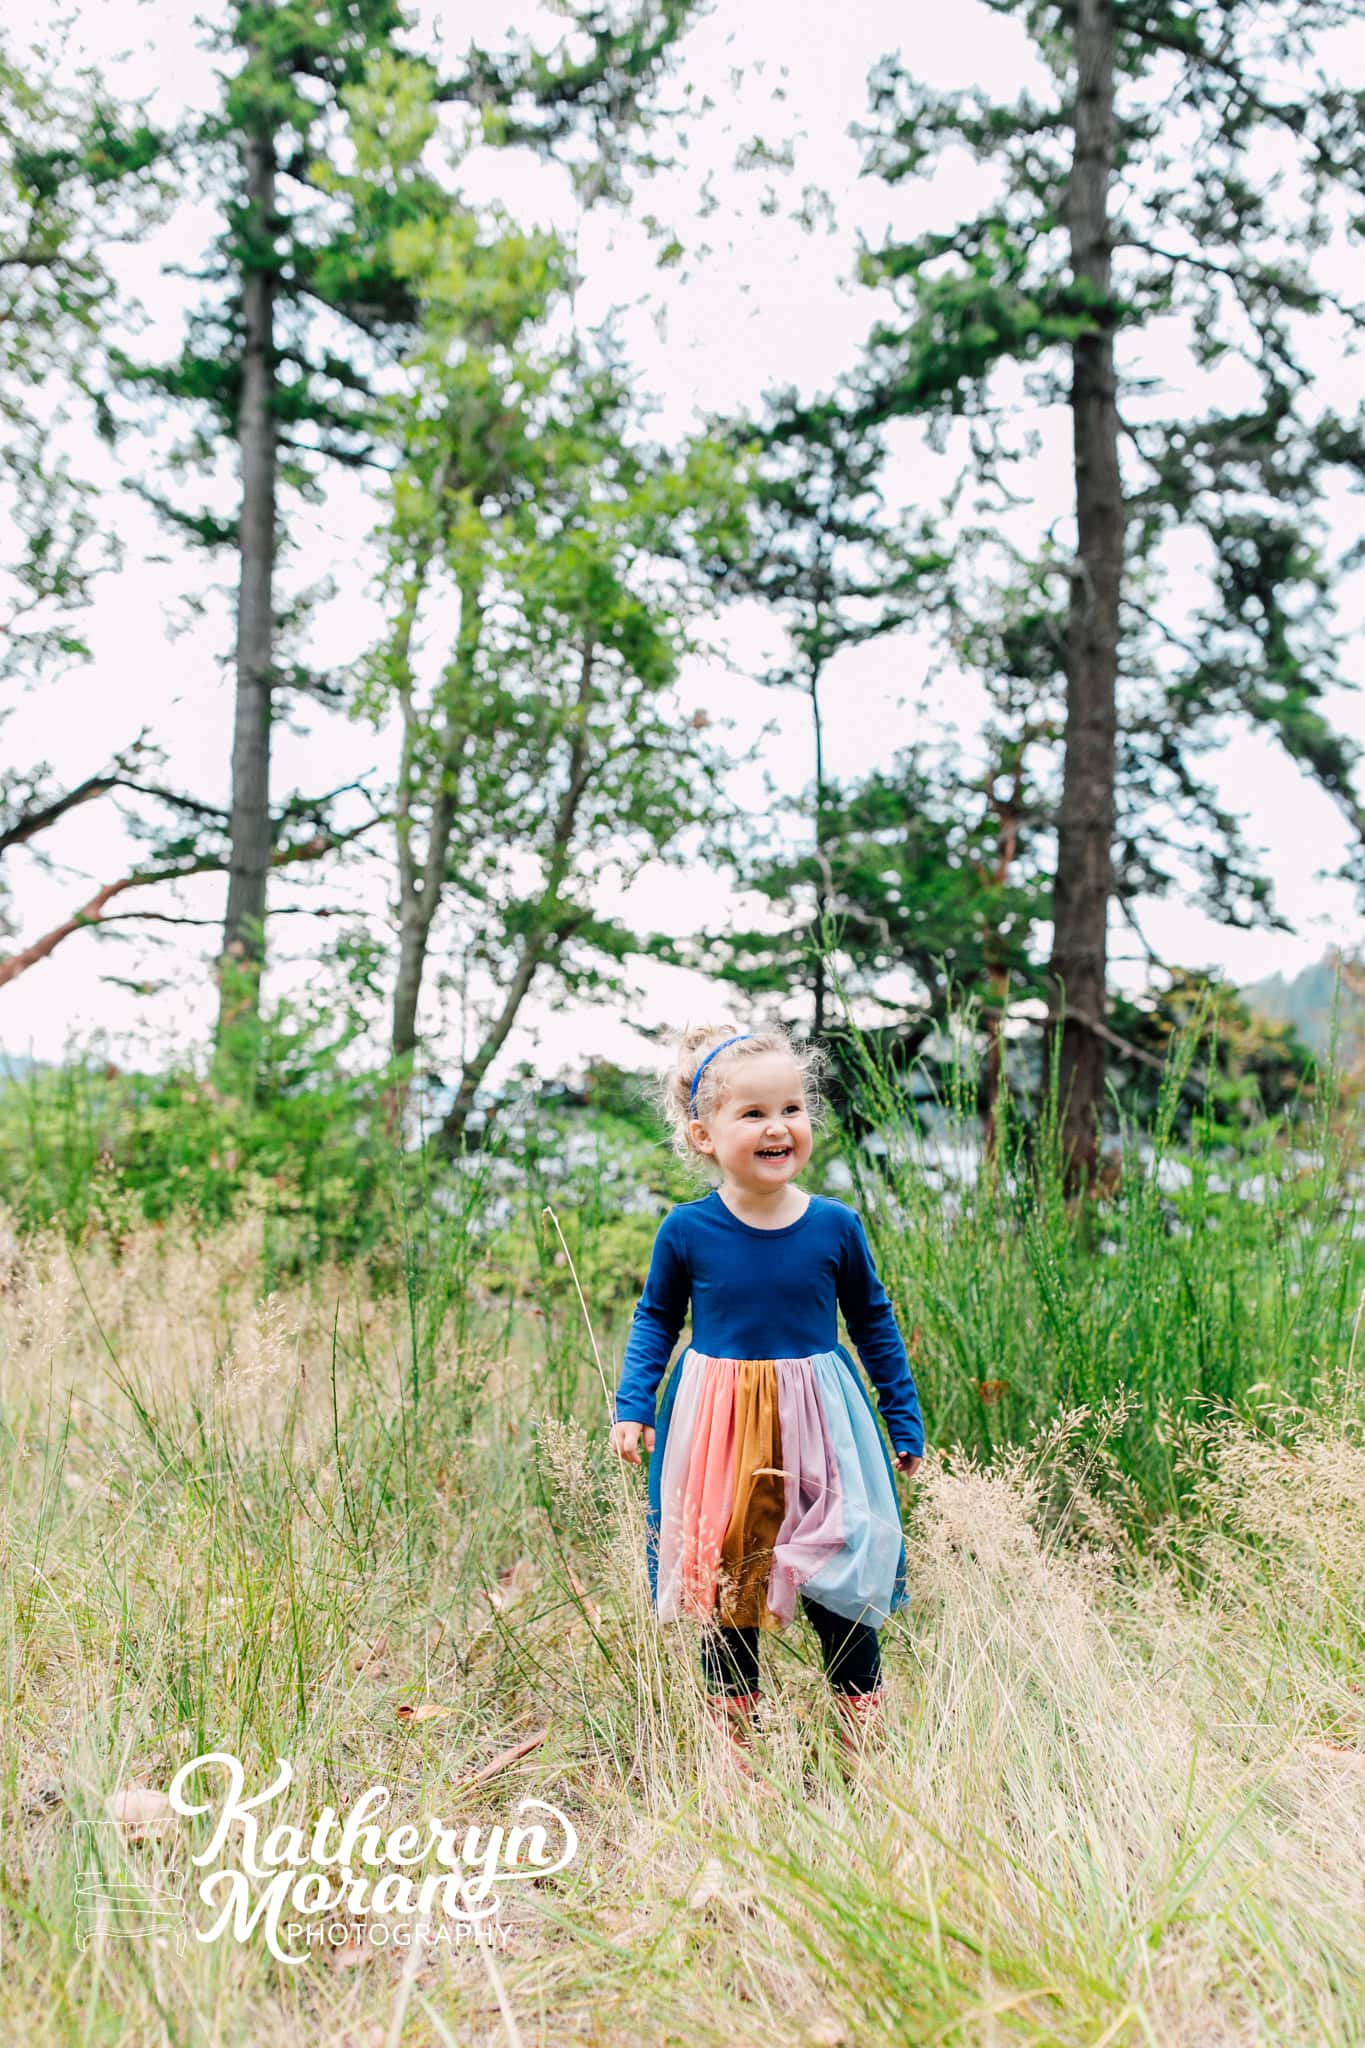
Depth of field is a really powerful and simple tool that you can use during any kind of session. A larger depth of field (or a bigger aperture number like F16) allows for the viewer to see more of the scene in focus and tells a larger story of the subject and setting. When using a shallow depth of field (or a small aperture number like F1.4), less of the shot is in focus bringing your attention to specific details. I really like to play with depth of field when working with a subject in one setting, but needing to get a variety of shots. Here’s an example of three shots in the same location with different depths of field. You’ll notice that the shallower depth of field has more bokeh than the others, too!


Photography is SO fun and finding different ways to play with these compositional tools will continue to elevate your work and style. Want to see more pro photo tips? Check out these posts on the blog!
