What is Lifestyle Food Photography?
Lifestyle food photography is the act of providing your target audience with a visual representation of what they can expect to receive from your business in an engaging way and gets them excited to taste the products you’re offering thanks to props, colors and textures that help tickle the taste buds and enhance your food visually. You want your lifestyle food photography to get people hungry and excited to eat!
Lifestyle food photography can be done either in a studio setting or onsite in a restaurant or kitchen depending on the needs and goals of your business. Lifestyle photography is significantly more impactful in marketing food than lightbox photography because of the inherent way that it draws the viewer right into your dish or restaurant thanks to the ambiance and styling. Amazing lifestyle food imagery tells the story of the flavors, the ingredients and the feeling that your customers will get by biting into your delicious food. Whenever you’re thinking of marketing photography for your business, the more ways you can connect with your target audience on an emotional level, the better. Lifestyle food photography is an effective tool to have in your toolbox to make this connection happen!
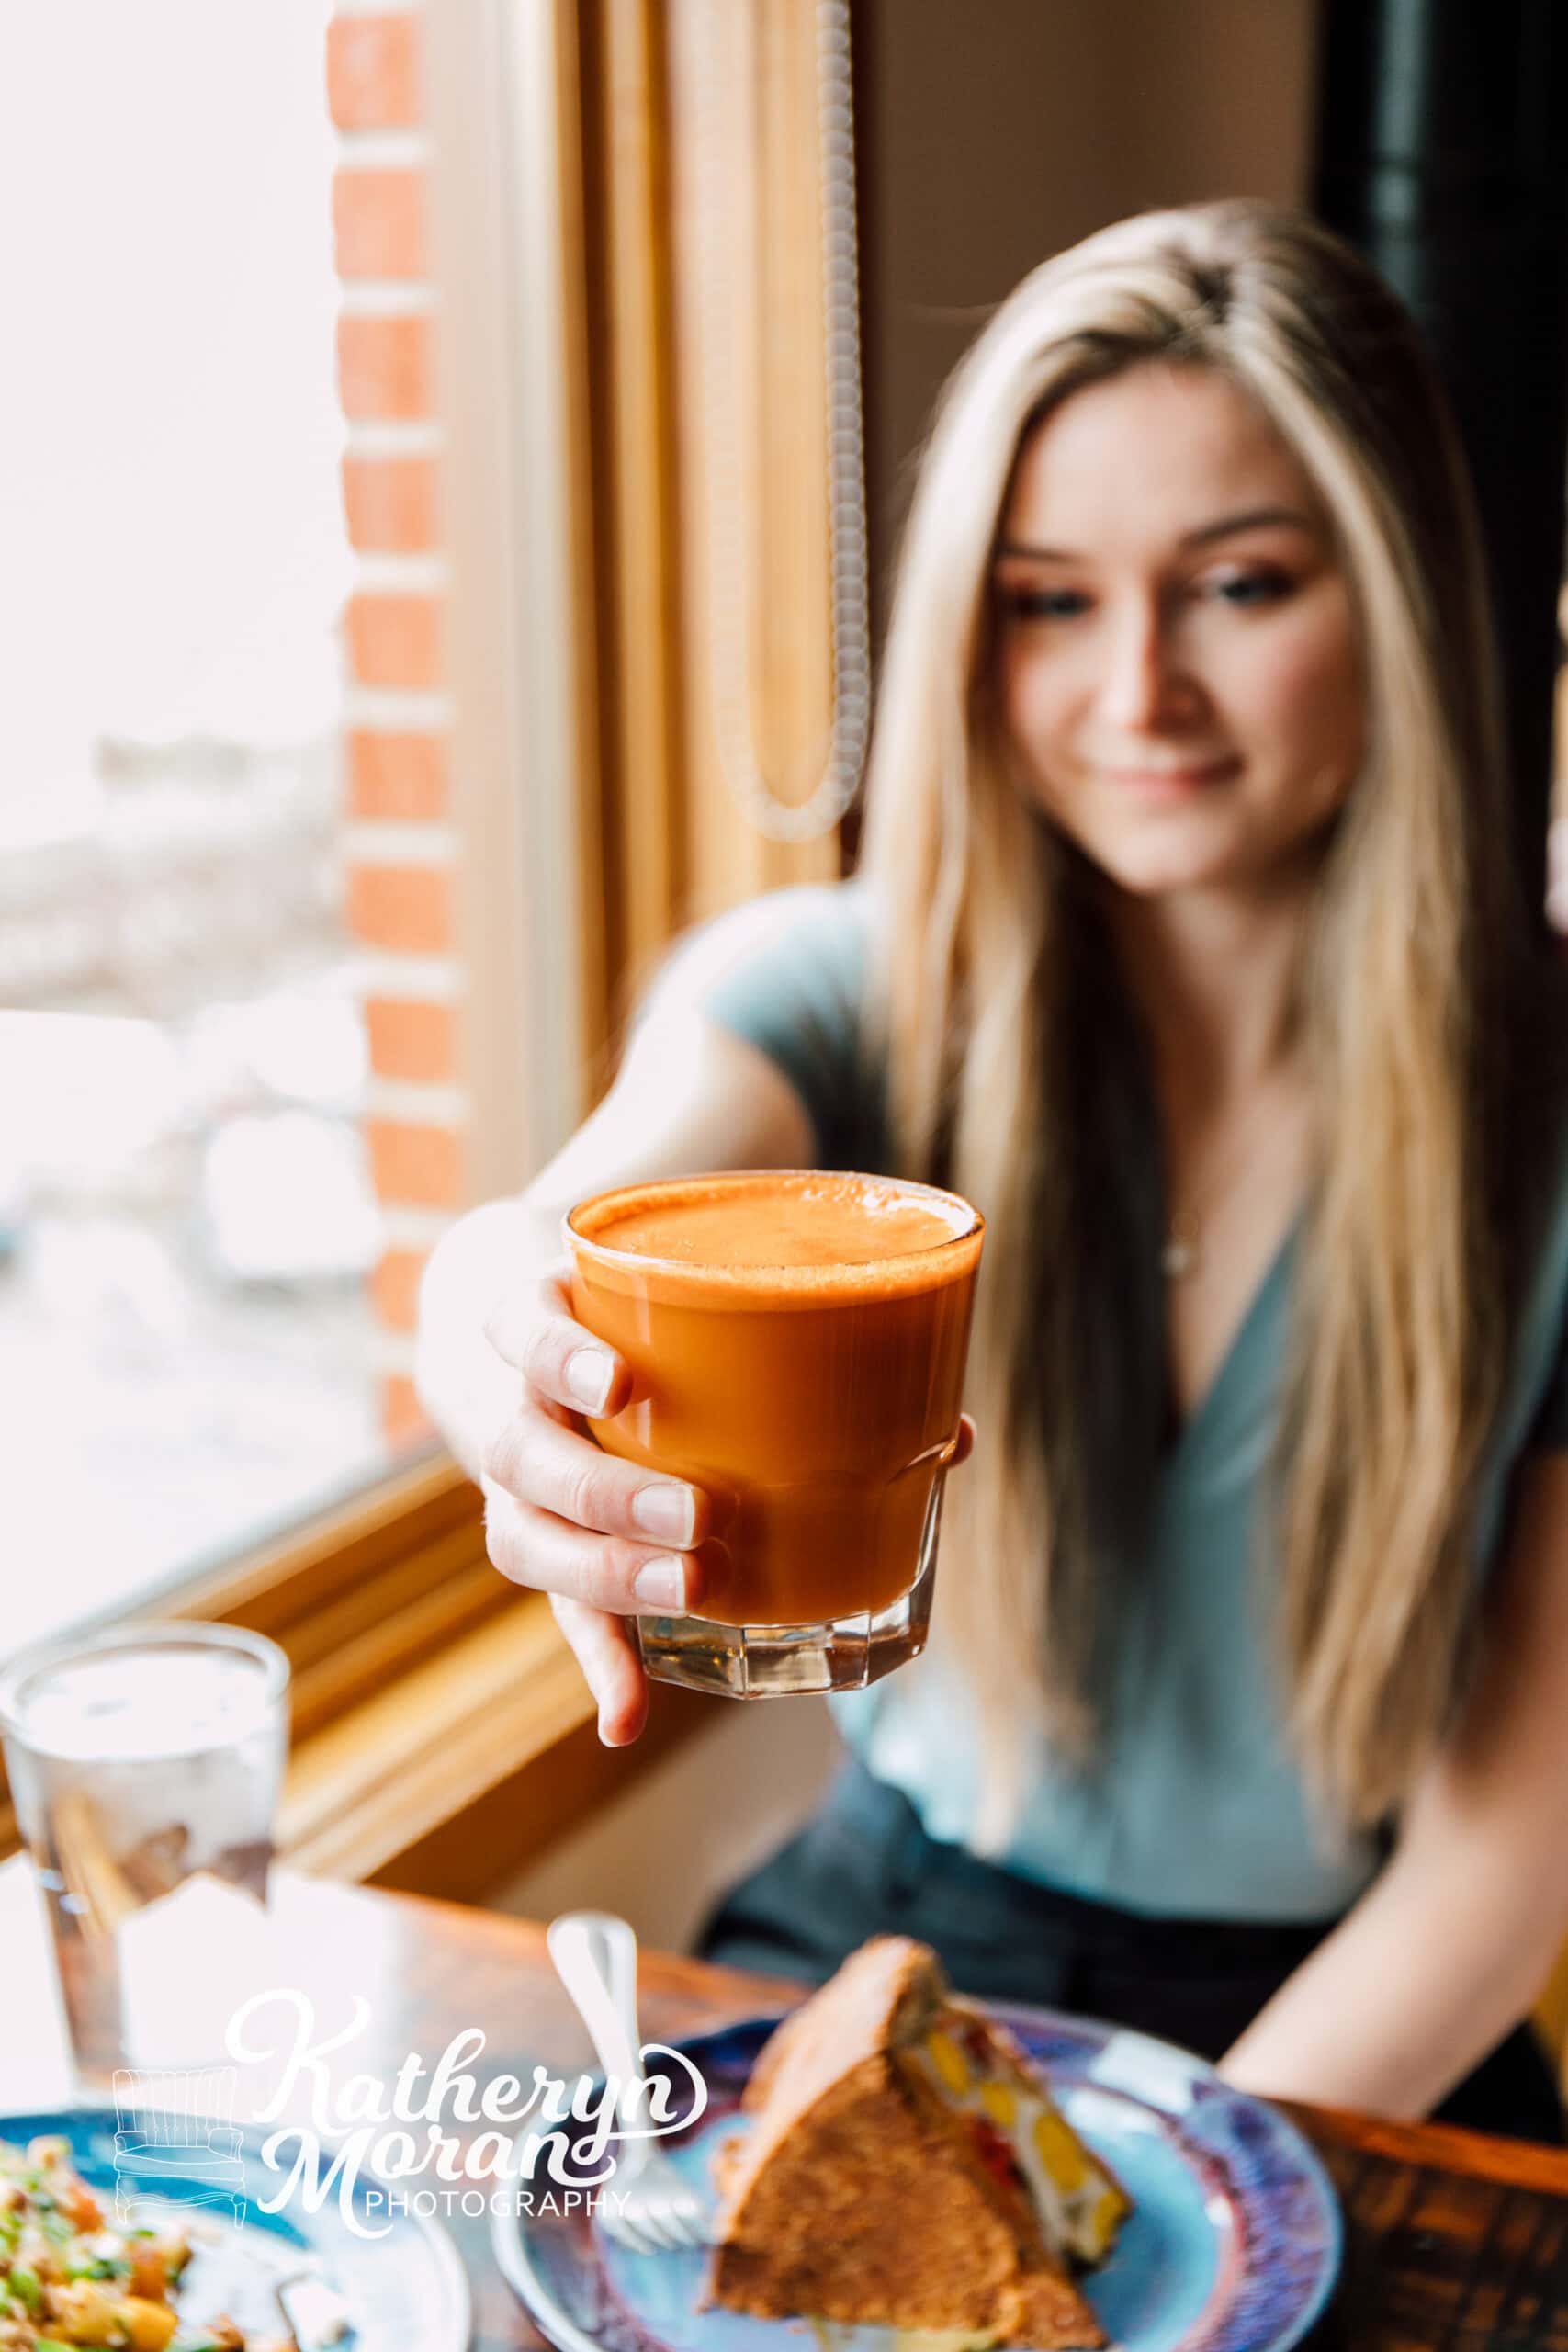
Here is a great example of a lifestyle shot taken onsite for Evolve Chocolate + Cafe. We wanted to be sure to feature several of their dishes in on scene, to highlight the warm and inviting ambiance, the special pottery they use for plating and a fun and happy emotion. I love adding people to lifestyle work whenever possible, too. This really helps viewer, and your target audience, envision themselves in that space enjoying a meal with someone they love.
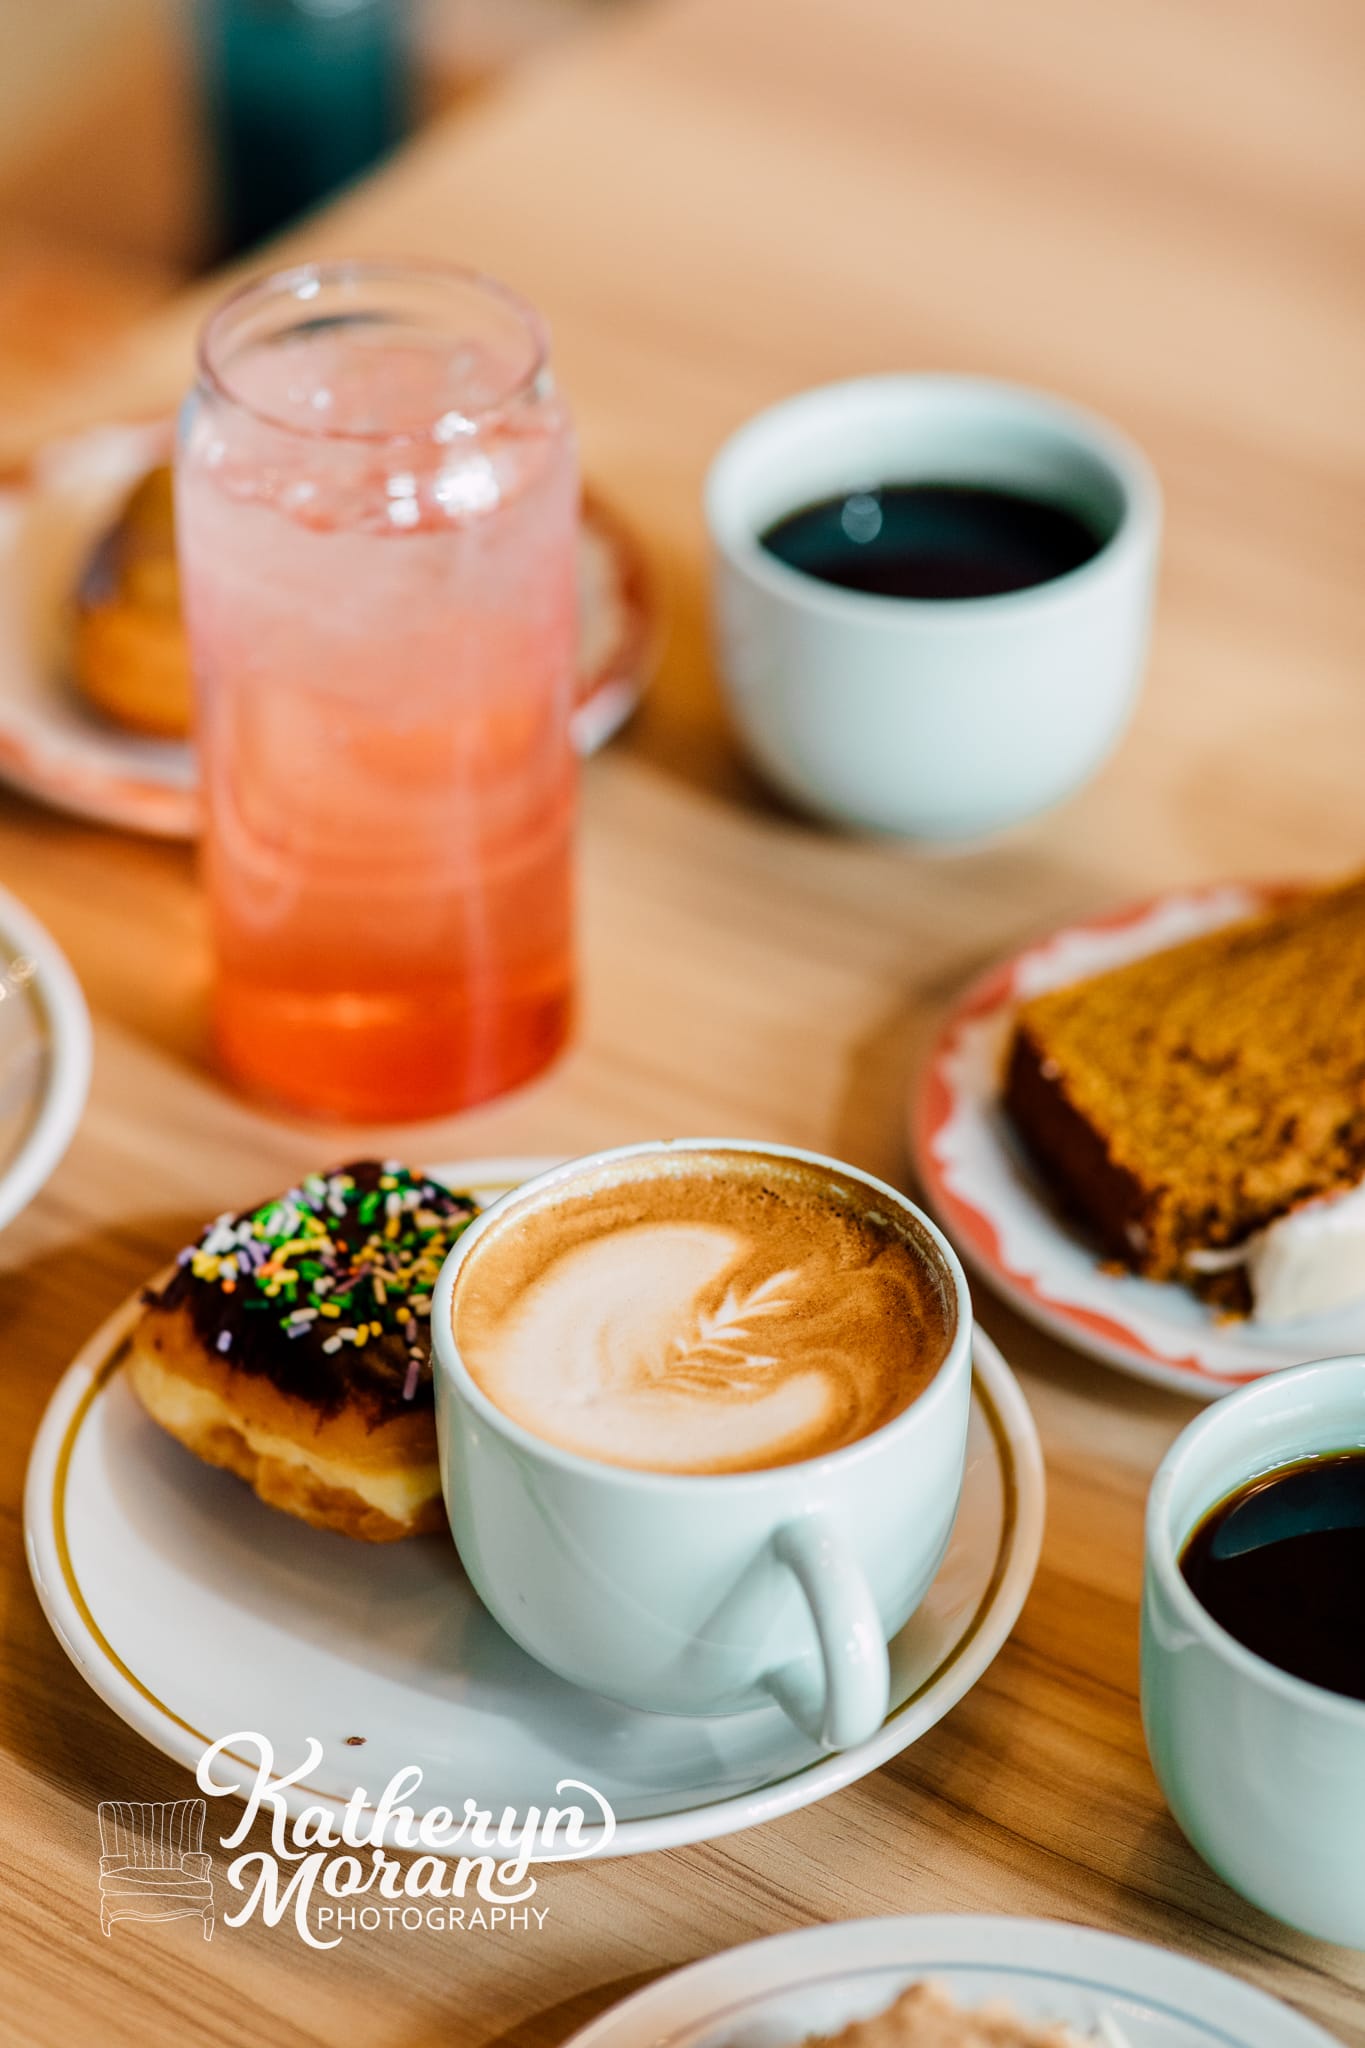
Here is another example of a lifestyle food photo taken onsite at the Maple Bar coffeeshop. This shot highlights several of their offerings from coffee and donuts to energy drinks and baked goods in a warm and inviting light that speaks to the brand!
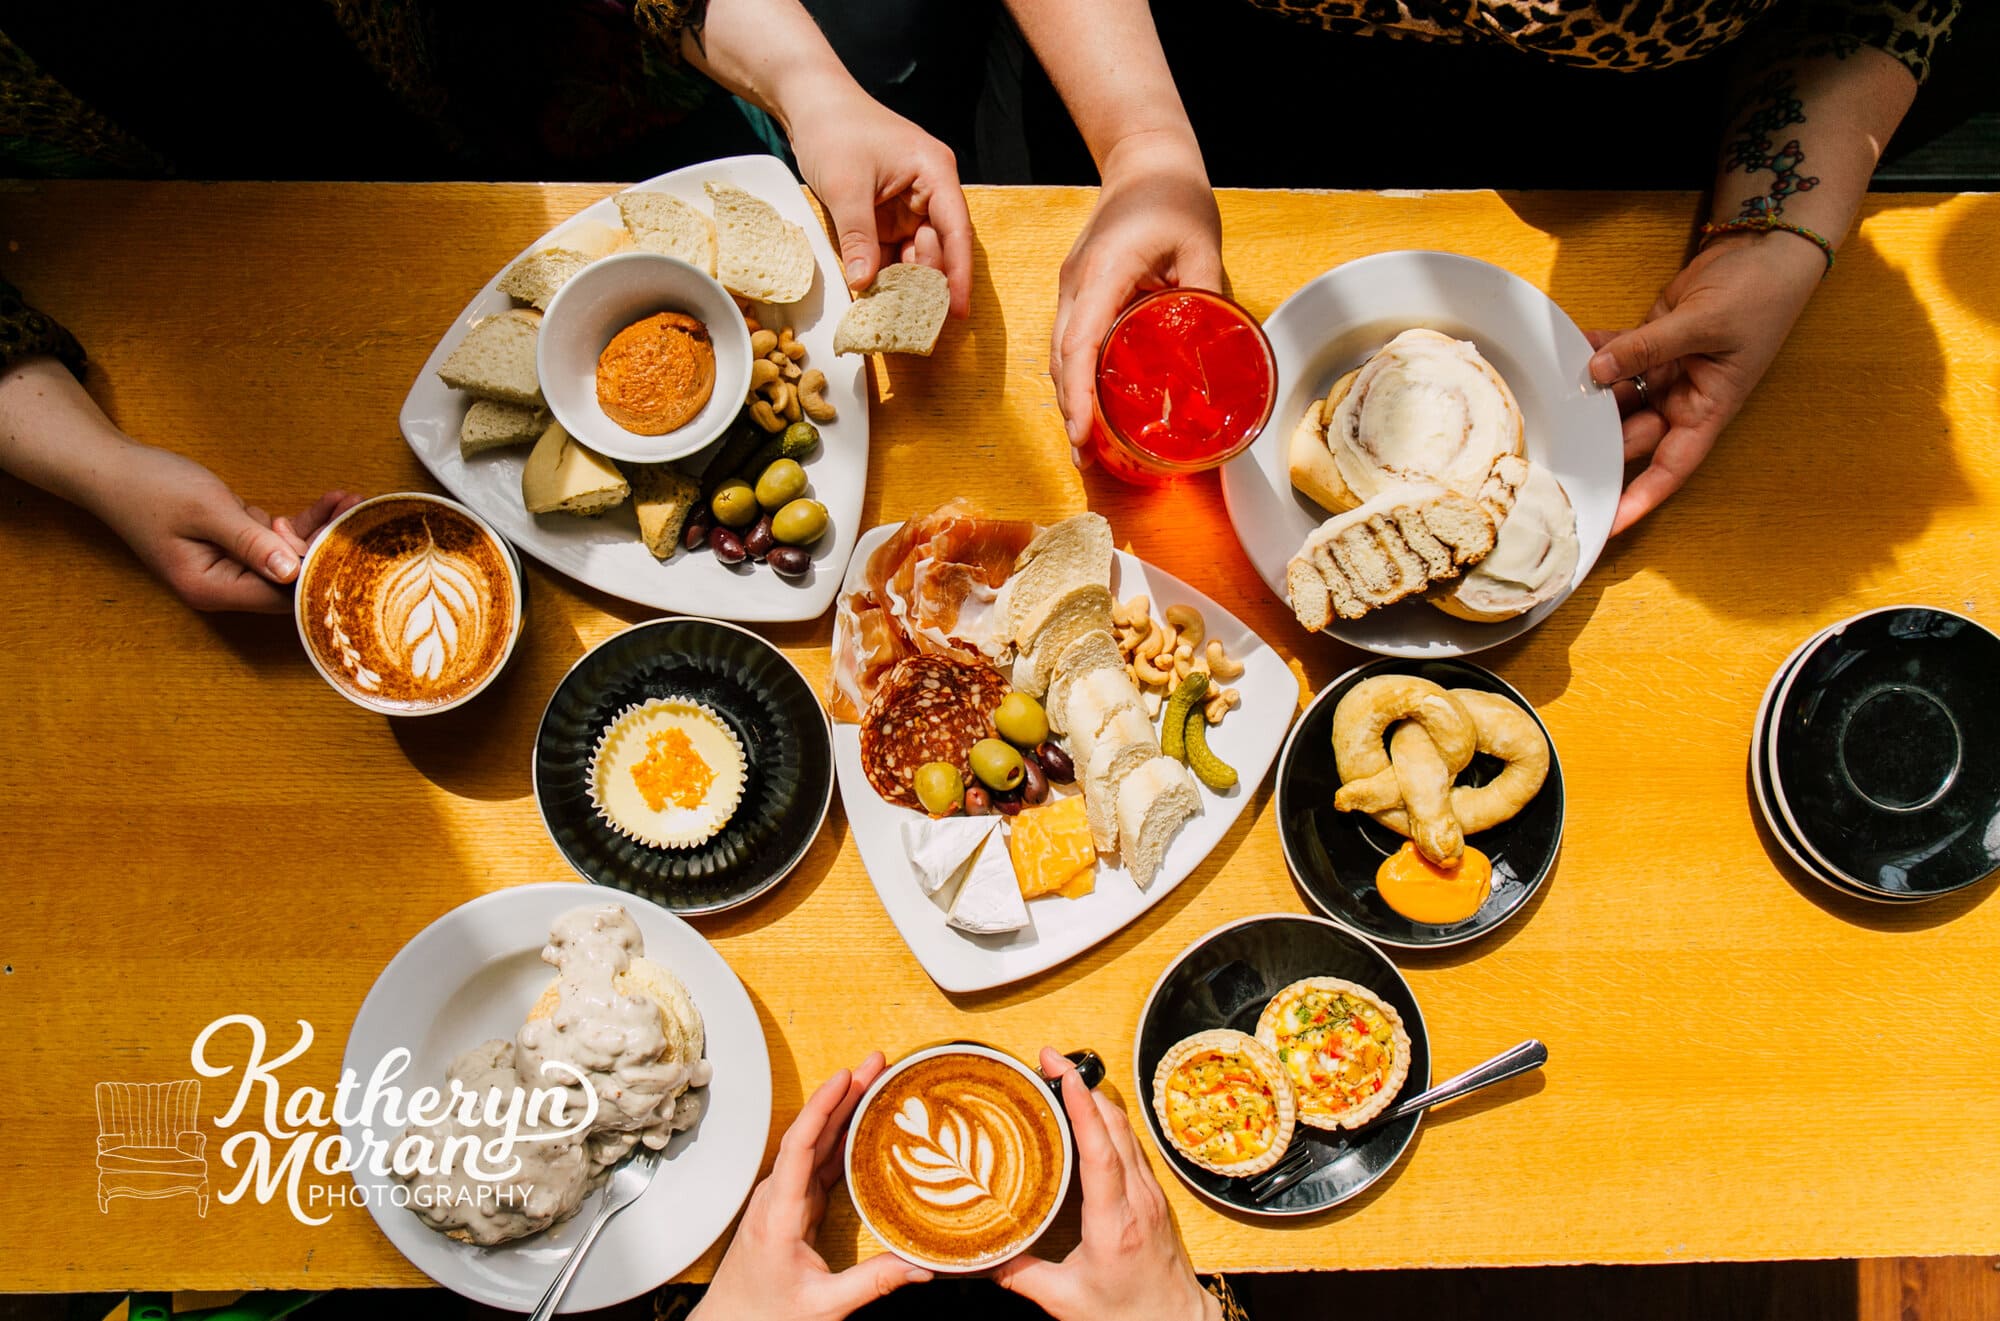
Loved this top-down shot for The Blackdrop Coffeehouse! We wanted a modern, fun look for their branding imagery and just be adding in these little sneaks of people’s hands, I feel like I am right there in the moment.
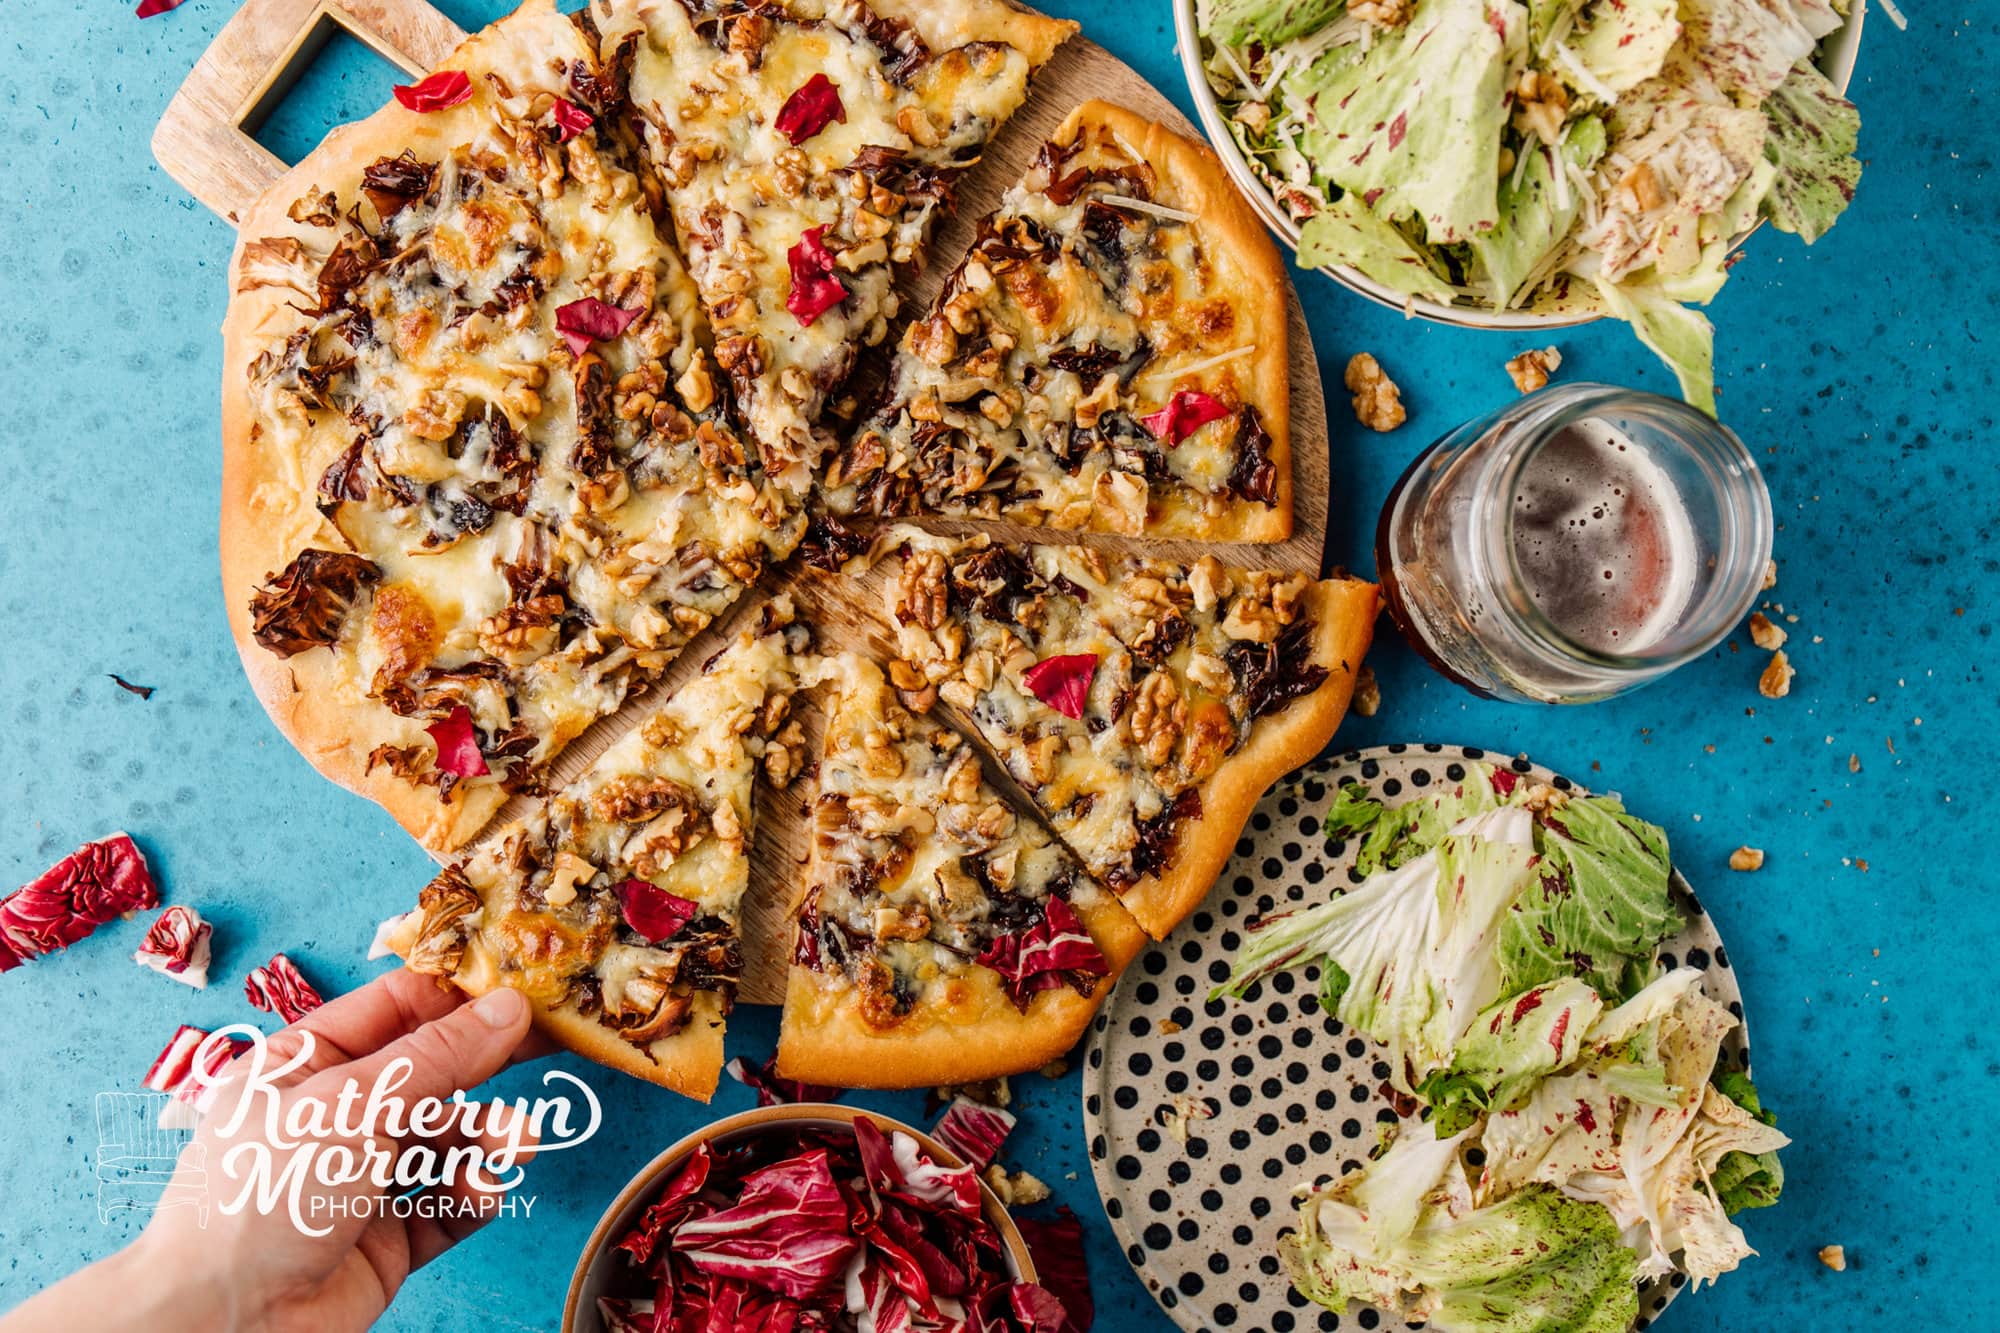
Here’s a shot taken in the studio for Boldly Grown Farm – a local farm looking to photograph recipes that highlight one of their most unique drops: Radicchio! Taking your food into a studio setting gives us the chance to create a very intentional scene with exact lighting and creative backgrounds + props!
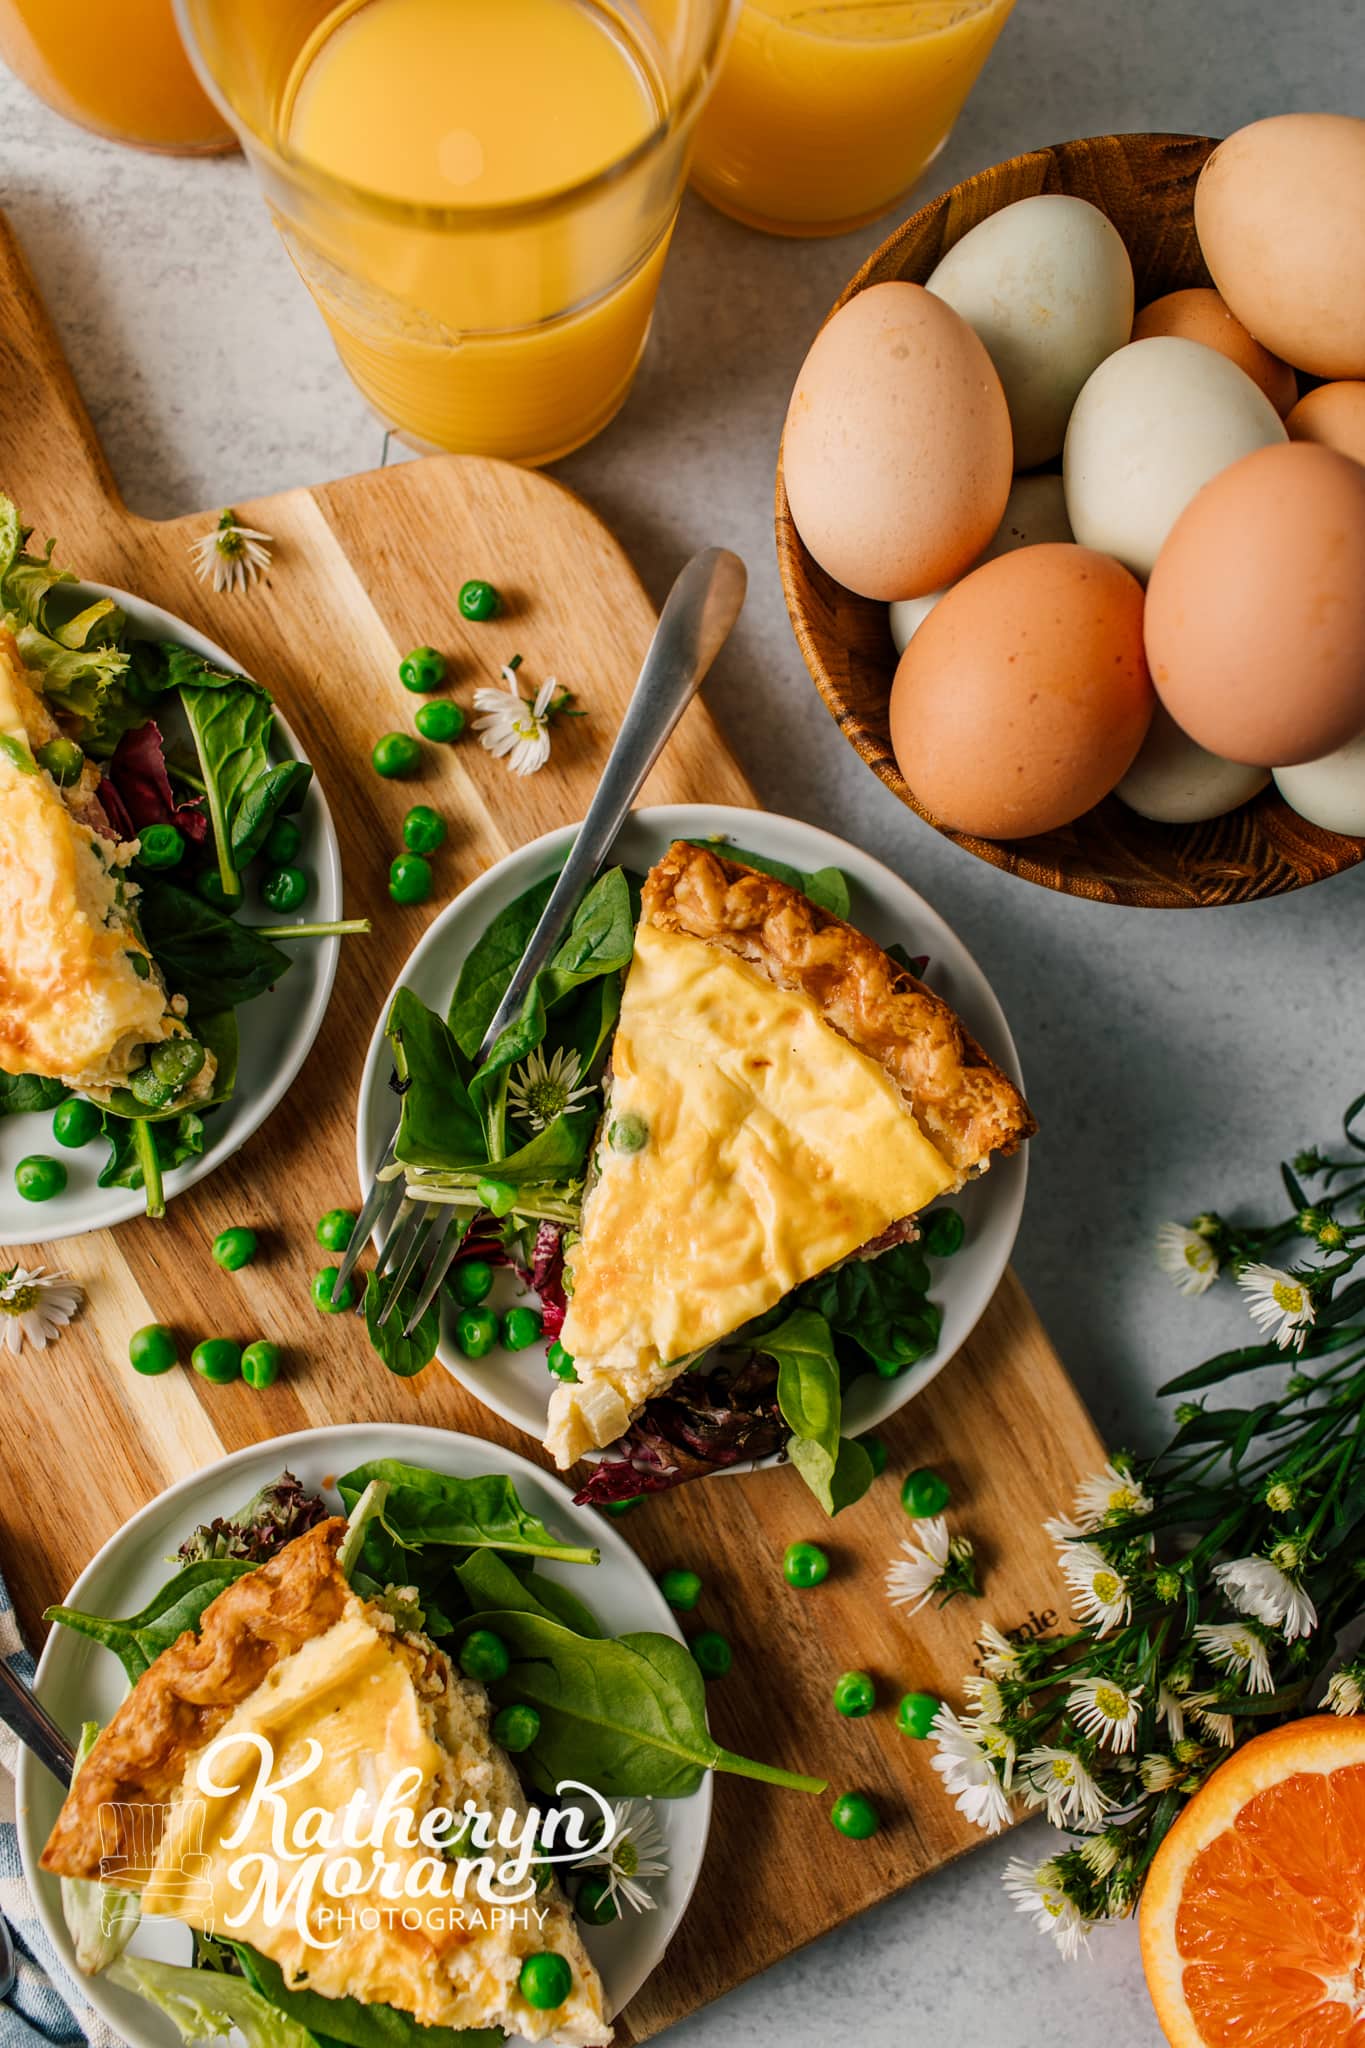
One last example here of a photo taken in a studio setting for Dream Dinners! This company puts out season menu items that people can order to have delivered in their home in handy ready-made meal kits for them to complete at their leisure. Here we were featuring one of the many different quiche varieties they were offering at the time!
How to Prepare for Your Lifestyle Food Photography Session
There are a number of things you can do to prepare for your upcoming lifestyle food photography session. All of my bookings include a consultation to go over many of these items together! I like to ensure that my clients get the best results possible.
- Consider the ingredients you’d like to highlight in a particular dish. Whether we’re styling in a studio or in a restaurant, being sure to feature the most important ingredients that make each dish unique is important!
- If working onsite, be sure to have a table and space cleared specifically for conducting the session. Ideally this space has some natural light and allows me to capture the ambiance of your space including windows, wall colors, linen textures, art, etc.
- Create a thoughtful timeline before the session date. Food can be finicky and being sure that we capture the dish as it’s freshly coming out of the oven or before it begins to melt is important!
- If you are going to include models in your session, it’s a good idea to get a model release form from each of them stating that they are comfortable with you using their image for marketing purposes!
- Think about collecting supporting props for your scene. In a restaurant this will be items like your glassware, linens, plates, condiments. In a studio setting this will require a bit more advance planning to source ingredients, backdrops and props that fit the message you’re trying to convey. A good photographer will help recommend and guide you through this process!
Common Questions People Have About Lifestyle Food Photography
Q: How many dishes do you typically recommend photographing and how many can you get done in an hour?
A: Every project really varies in this sense and this is why it’s so important to talk through a timeline with your photographer prior to the session date. The length of time a dish might take depends on the difficulty of lighting that dish (meats, soups and seafoods can be trickier to light) and the overall aesthetic of the scene you’re trying to achieve. If it’s a very detail oriented, prop heavy scene, it will take longer to style and shoot. Figuring out the total amount of time needed for a session will also depend on how long it takes to cook each dish! I always recommend that you choose enough total dishes that the final collection will give a good representation of your restaurant or product line as a whole.
Q: How do you know which props to choose when working in the studio?
A: This is where a great stylist and photographer will be able to help guide you in choosing props that fit your brand, help support and not overpower the food being highlighted and that convey the overall message you’re looking for. For example, if the message of your granola brand is “organic, convenient and healthy” you will want to choose props that are earthy, choose ingredients that are healthy and choose containers that are small and give the idea of being easy to transport. Check out a great example here for Happy Hippie Granola!
Q: What do you do if the food you want to photograph easily spoils, wilts or melts?
A: Creating a timeline that takes all of these elements into consideration is essential. When working with Lopez Island Creamery to photograph 15 of their different ice cream flavors, we had to be VERY strategic. We had pre-scooped flavors, utensils and bowls all chilling in the freezer between each scene. We had extra freezer bags and LOTS of ice around the studio so we could break up bag into a section of the shoot and only open as many times as necessary. Talk with your photographer about the unique qualities of your dish and they will help you build out a successful timeline!
Add Life to Your Food Photography!
Contact me today to talk about your food and let’s make magic!
